
近两年随着VR的火热,市面上也出现了很多购房和二手房软件小程序出现了VR看房功能,实现足不出户就能亲身体验,那么类似这样的功能是怎么实现的呢?
今天阿七就和大家一起来学习一下360°×180°全景插件photo-sphere-viewer和他的插件(这里只用到标记插件Markers)
photo-sphere-viewer
photo-sphere-viewer是基于three.js和uEvent 2
下载插件
使用npm或yarn下载安装
npm install photo-sphere-viewer

yarn add photo-sphere-viewer
或者手动通过promise-polyfill下载安装
使用
<template>
  <div id="viewer"></div>
</template>
<script>
    import {Viewer} from 'photo-sphere-viewer'
    import 'photo-sphere-viewer/dist/photo-sphere-viewer.css'
    export default {
        data(){
            return{
                viewer:'',
                imgurl1:require('../assets/1.jpg'),
            }
        },
        mounted(){
            this.viewer = new Viewer({
                container:document.querySelector('#viewer'),
                panorama:this.imgurl1,
                size:{
                    width: '100vw',
                    height: '50vh',
                },
            });
        }
    }
</script>

常用参数
container(必需的)
类型:HTMLElement | string
包含全景图或元素标识符的HTML元素。
container: document.querySelector('.viewer')
container: 'viewer' // will target [id="viewer"]
panorama (必需的)
类型: string | string[] | object
全景图像的路径。对于等角的全景图,它必须是单个字符串(我文章使用的就是720°全景图);
对于立方体贴图,它必须是数组或对象(对应六个面)。
// Equirectangular panorama :
panorama: 'path/to/panorama.jpg'

// Cubemap as array (order is important) :
panorama: [
  'path/to/left.jpg', 'path/to/front.jpg',
  'path/to/right.jpg', 'path/to/back.jpg',
  'path/to/top.jpg', 'path/to/bottom.jpg',
]

// Cubemap as object :
panorama: {
  left:   'path/to/left.jpg',  front:  'path/to/front.jpg',
  right:  'path/to/right.jpg', back:   'path/to/back.jpg',
  top:    'path/to/top.jpg',   bottom: 'path/to/bottom.jpg',
}
plugins
类型: array
启用的插件列表。(如后面会用到的标记插件marker)
markers:切换标记
markersList:显示标记列表
gyroscope:陀螺仪切换
stereo:切换立体声视图(VR)
caption
类型: string
导航栏中显示的文本。如果导航栏被禁用,它将一直显示,但没有按钮。允许使用HTML。
size
类型: { width: integer, height: integer }
最终大小(如果为全景图容器)。默认情况下,container使用的大小,并在调整窗口大小时遵循。
navbar
导航栏的配置。
autorotate :切换自动旋转
zoomOut :放大
zoomRange :缩放滑块
zoomIn :缩小
zoom:zoomOut+ zoomRange+zoomIn
download :下载源图像
caption :标题
fullscreen :切换全屏视图
自定义导航栏按钮:
 navbar: [
    {
      id: 'my-button',//按钮的唯一标识符,在使用该navbar.getButton()方法时很有用
      content: 'Custom',//必需的,按钮内容
      title: 'Hello world',//鼠标悬停在按钮上时显示工具提示
      className: 'custom-button',//CSS类已添加到按钮
      onClick: () => {
        alert('Hello from custom button');//必需的,单击按钮时调用的函数
      }
      //disabled:false,最初禁用该按钮
      //hidden:false,最初隐藏按钮
    },
  ]
更多参数参考官网
Markers插件
官方插件(在左侧菜单中列出)可在目录photo-sphere-viewer内的主软件包中找到dist/plugins。一些插件还具有其他CSS文件。
导入
import MarkersPlugin from 'photo-sphere-viewer/dist/plugins/markers'
import 'photo-sphere-viewer/dist/plugins/markers.css';
使用
所有插件均包含一个JavaScript类,该类必须提供给plugins数组。一些插件还将采用嵌套数组中提供的配置对象。
this.viewer = new Viewer({
    container:document.querySelector('#viewer'),
    panorama:this.imgurl1,
    size:{
        width: '100vw',
        height: '50vh',
    },
    plugins: [
        [MarkersPlugin, {
            markers: [
                {
                    id:'circle',
                    tooltip:'A circle of radius 30',
                    circle:30,
                    svgStyle : {
                        fill:'rgba(255,255,0,0.3)',
                        stroke:'yellow',
                        strokeWidth:'2px',
                    },
                    longitude: -1.5,
                    latitude: -0.28,
                    anchor: 'center right',
                }
            ],
        }],
    ],
});
初始化之后,可以使用getPlugin方法获得插件实例,从而允许在插件上调用方法并订阅事件。
const markersPlugin = this.viewer.getPlugin(MarkersPlugin);

markersPlugin.on('something', () => {
  /* ... */
});
点击查看更多标记插件的参数方法
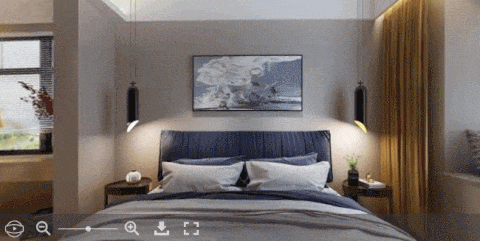
最终效果
最终代码
<template>
  <div id="viewer"></div>
</template>
<script>
    import {Viewer} from 'photo-sphere-viewer'
    import MarkersPlugin from 'photo-sphere-viewer/dist/plugins/markers'
    import 'photo-sphere-viewer/dist/photo-sphere-viewer.css'
    import 'photo-sphere-viewer/dist/plugins/markers.css';
    export default {
        data(){
            return{
                viewer:'',
                imgurl1:require('../assets/1.jpg'),
                imgurl2:require('../assets/2.jpg'),
                imgurl3:require('../assets/3.jpg'),
            }
        },
        mounted(){
            this.viewer = new Viewer({
                container:document.querySelector('#viewer'),
                panorama:this.imgurl1,
                size:{
                    width: '100vw',
                    height: '50vh',
                },
                plugins: [
                    [MarkersPlugin, {
                        markers: [
                            {
                                id:'circle',
                                tooltip:'A circle of radius 30',
                                circle:30,
                                svgStyle : {
                                    fill:'rgba(255,255,0,0.3)',
                                    stroke:'yellow',
                                    strokeWidth:'2px',
                                },
                                longitude: -1.5,
                                latitude: -0.28,
                                anchor: 'center right',
                            }
                        ],
                    }],
                ],
            });

            const markersPlugin = this.viewer.getPlugin(MarkersPlugin);

            markersPlugin.on('select-marker', (e, marker) => {
                this.viewer.animate({
                    longitude: marker.config.longitude,
                    latitude: marker.config.latitude,
                    zoom: 100,
                    speed: '-2rpm',
                }).then(() =>
                    this.viewer.setPanorama(
                        this.imgurl2
                    ).then(() =>
                        markersPlugin.updateMarker({
                            id: marker.id,
                            longitude: -1.8,
                            latitude: -0.28,
                        }),
                        this.viewer.animate({
                            zoom: 50,
                            speed: '2rpm',
                        }).then(() =>
                            this.imgurl2 = this.imgurl3,
                            console.log("继续操作")
                        )
                    )
                )
            });
        }
    }
</script>
最终效果
由于GIF过大,压缩后效果欠佳,但不影响功能展示,建议自行运行一次
素材图片
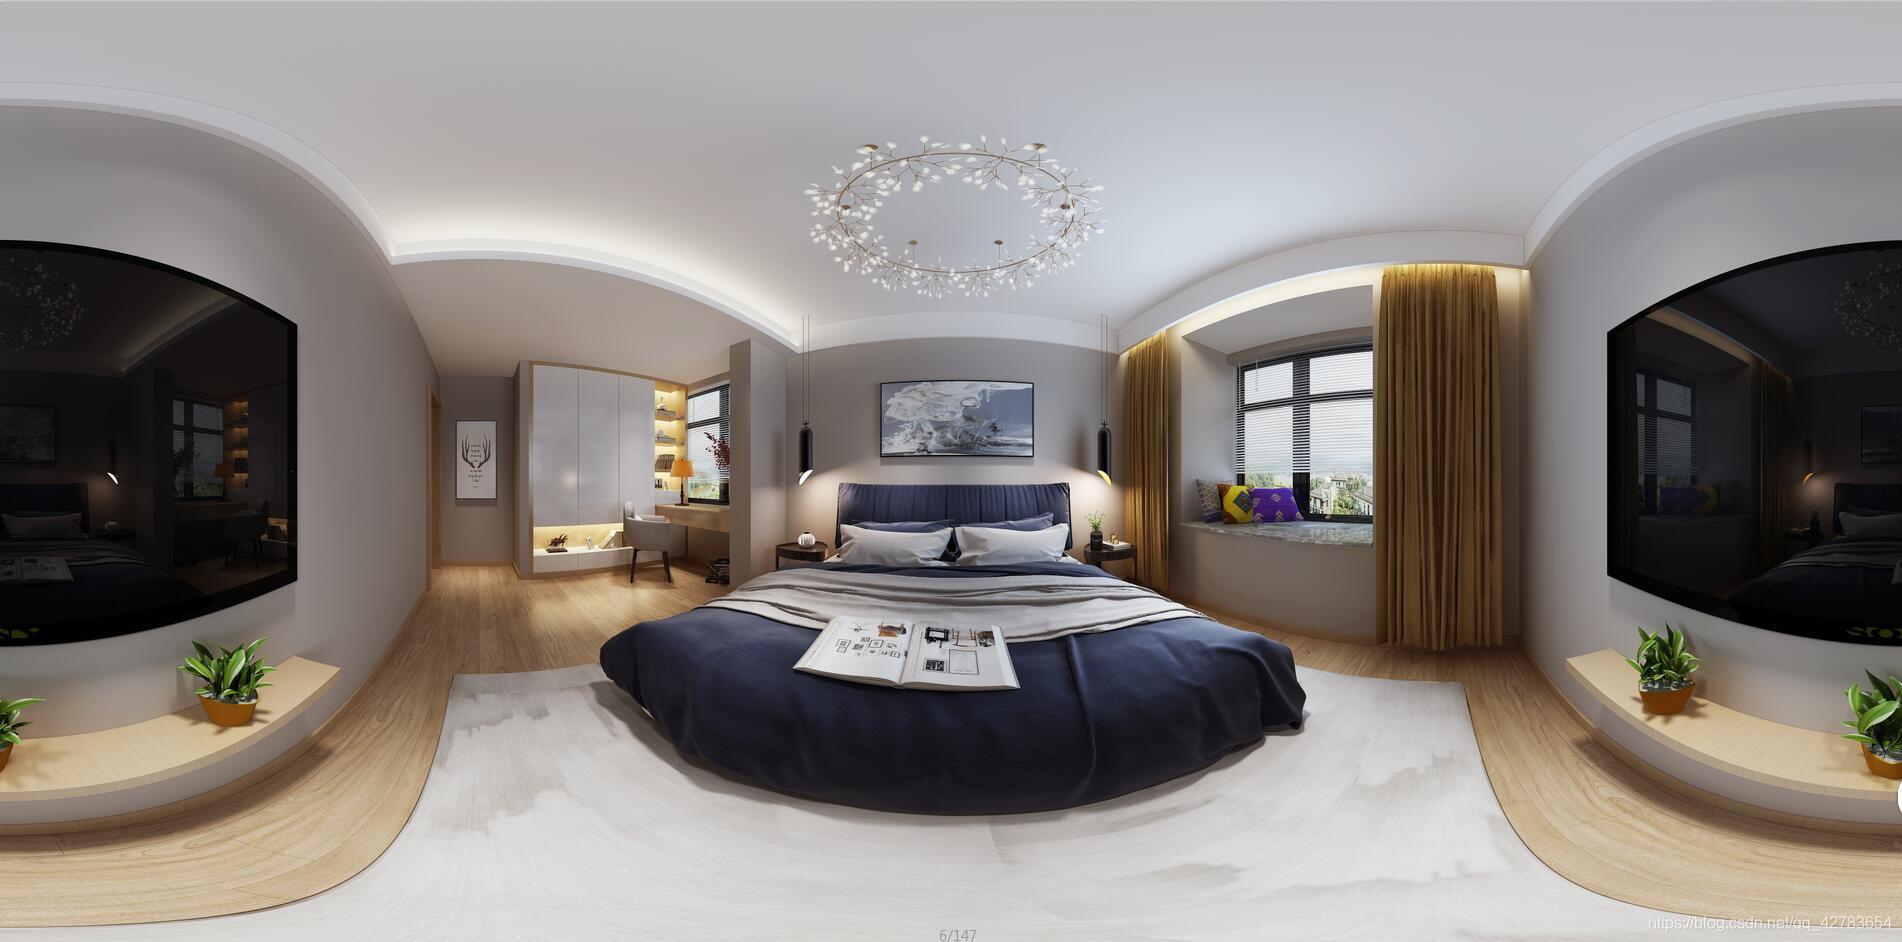
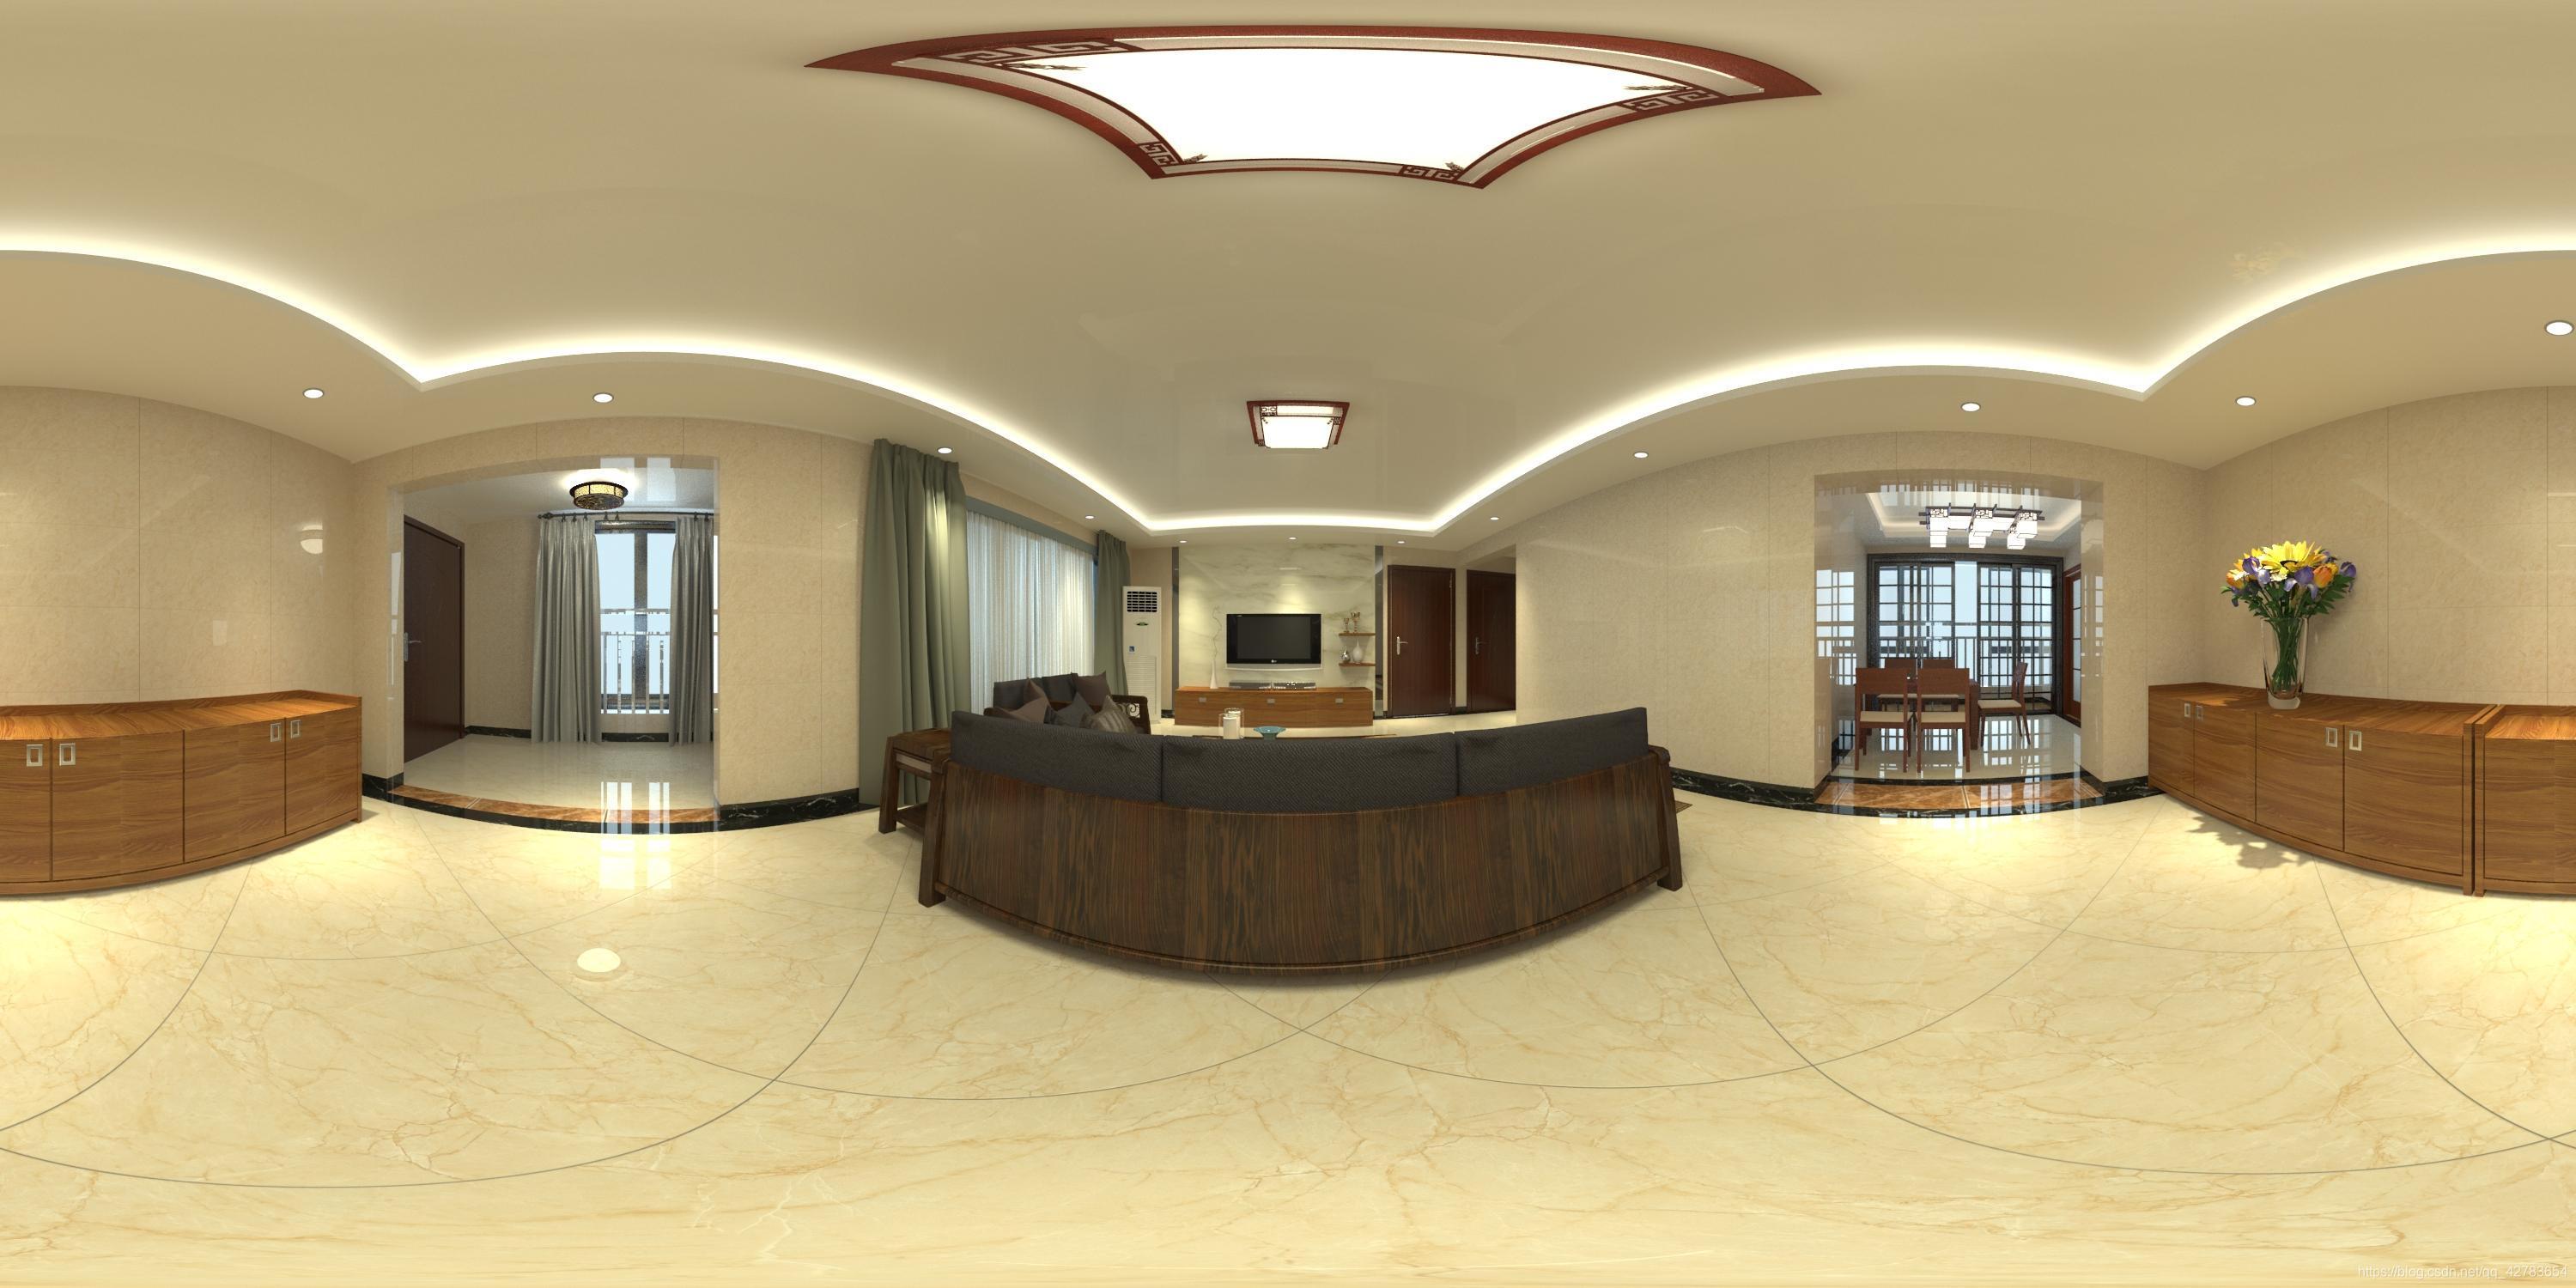
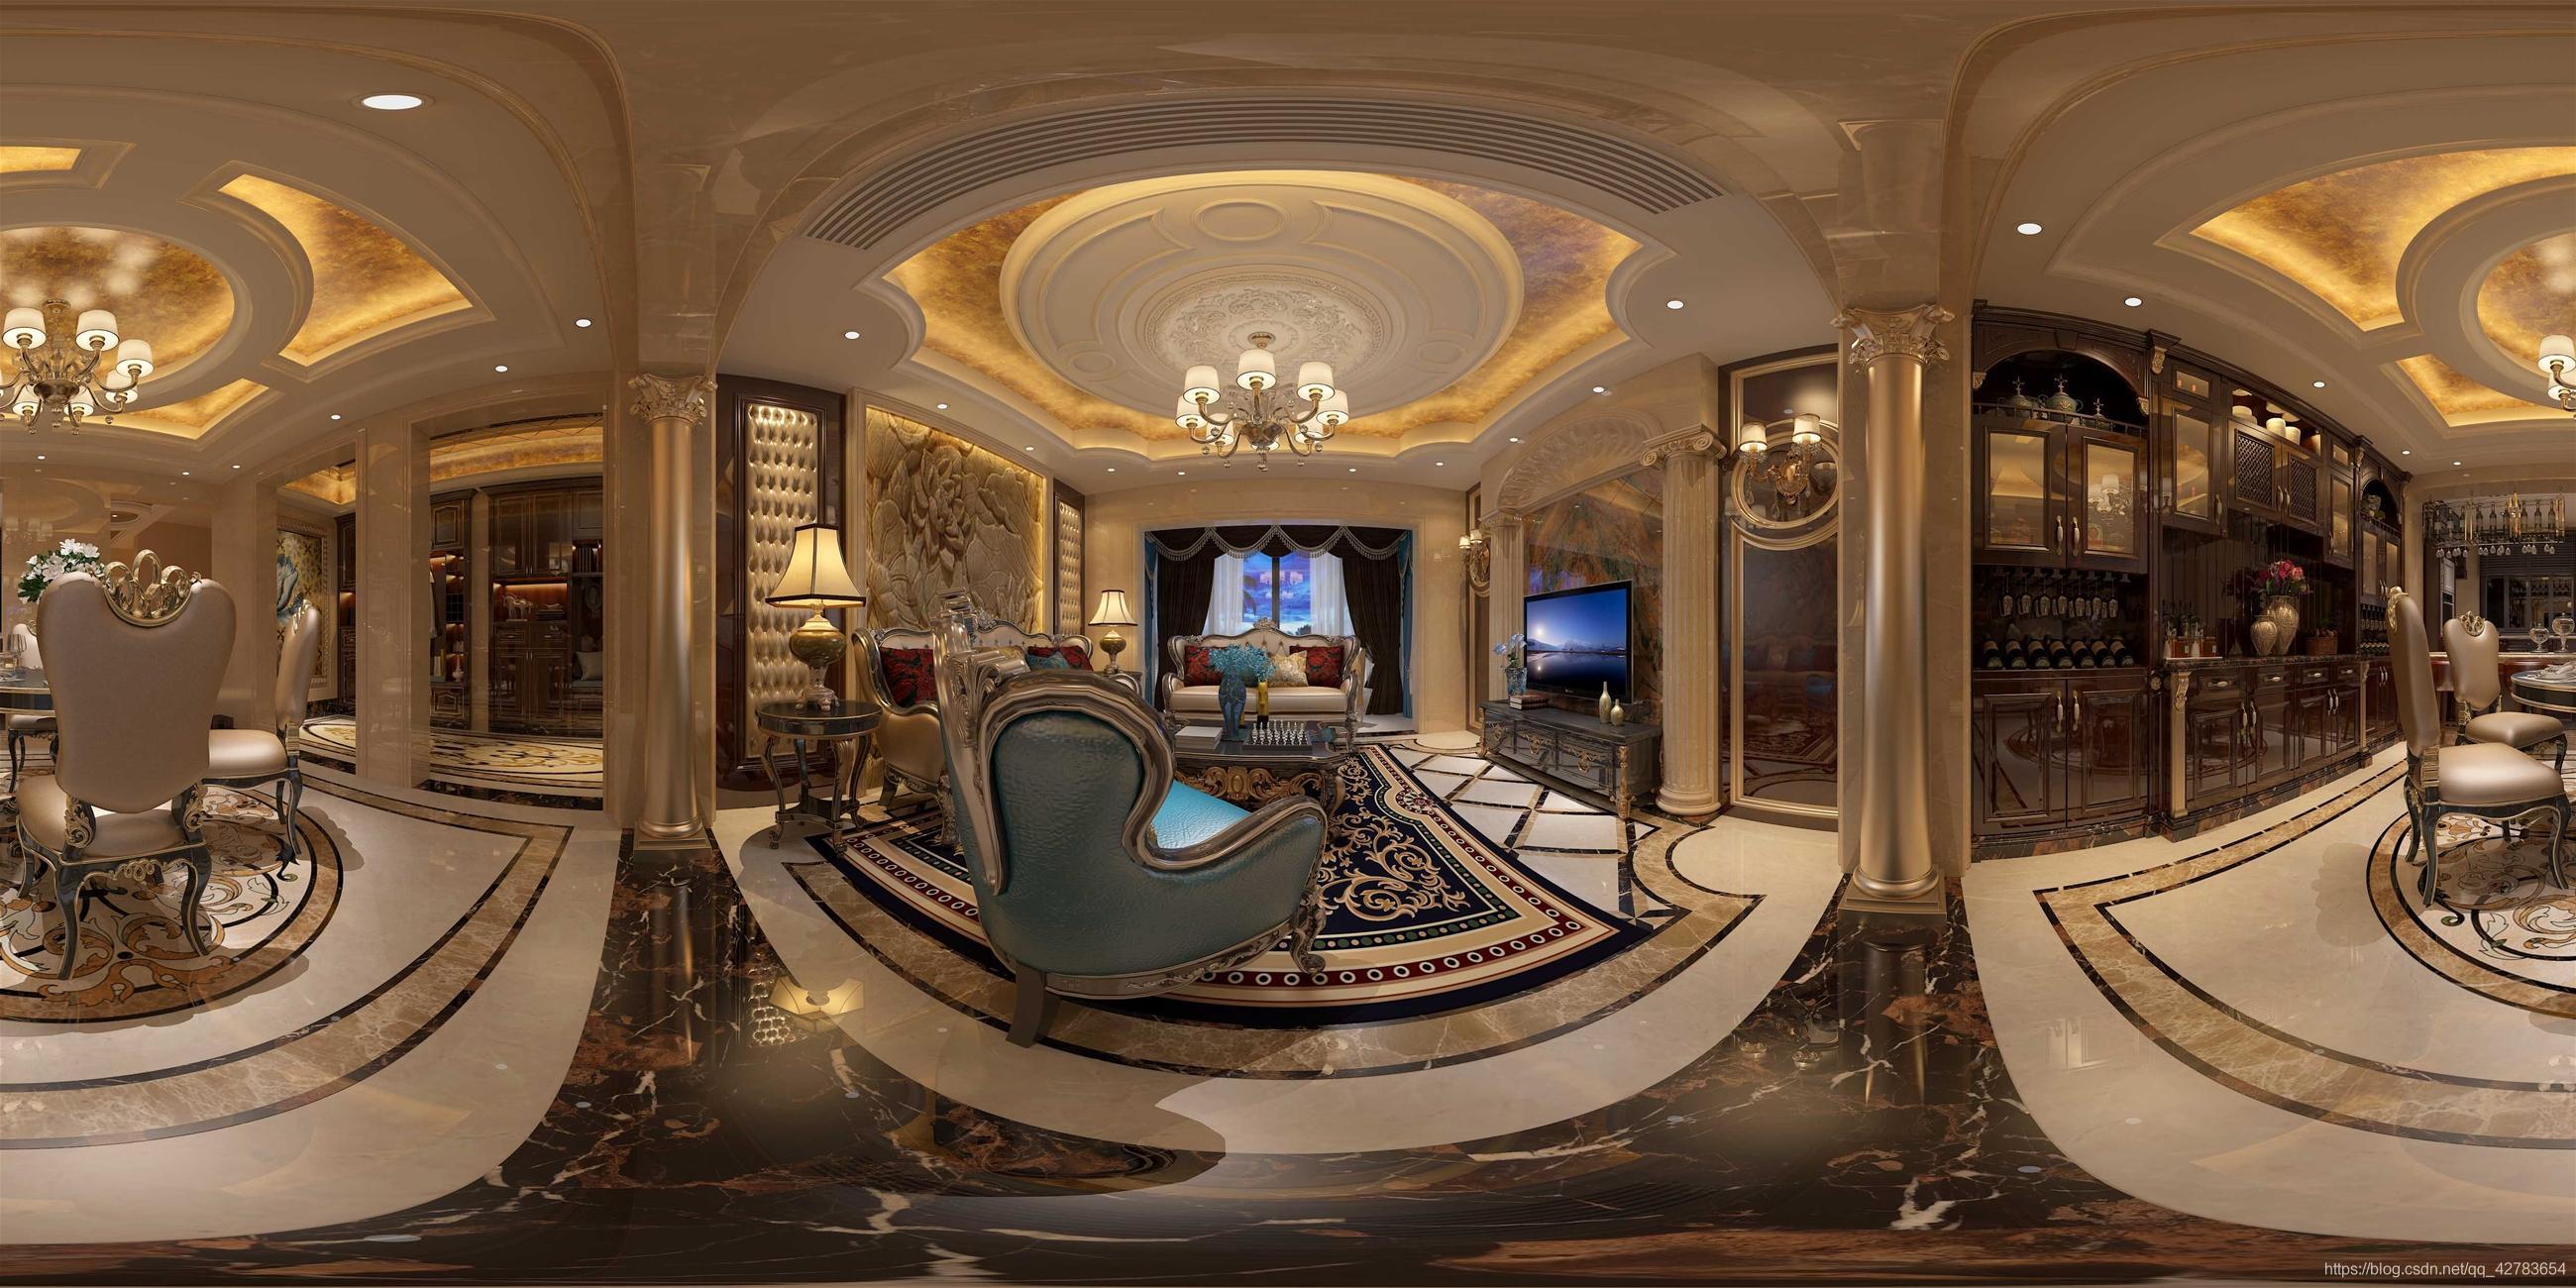
注:图片来源网络