
精灵的编辑态和渲染态
现在画布的各项编辑能力已经比较丰富了,但是都是通用的编辑能力,如果某些精灵本身想要一些特殊的编辑功能,暂时还无法做到。例如:
- 富文本精灵想显示编辑文本格式的工具条
- 图片精灵想显示配置图片链接地址的输入框
- 某些精灵组件先显示一个简单的配置表单等等(复杂且很多的配置项建议从右侧弹出一个属性配置面板来实现,不在本次讨论的范围内)
所以我们定义精灵存在渲染模式 和 编辑模式,默认情况下精灵为渲染态,当 双击精灵 时会使精灵变为编辑态。
是否处于编辑态我们通过一个 editing 参数传给精灵组件,精灵自己控制渲染态和编辑态分别显示什么内容,
- 编辑器内核绑定双击事件监听,并设置正在编辑中的精灵,渲染精灵时将精灵是否在编辑中作为props传进去
export class GraphicEditorCore extends React.Component<IProps, IState> {
  state = {
    editingSprite,
    // 其他属性...
  };

  componentDidMount() {
    document.addEventListener('dblclick', this.handleDoubleClick);
  }

  handleDoubleClick = (e: MouseEvent) => {
    if (!isClickOnSprite(e)) {
      this.setState({ editingSprite: null });
      return;
    }
    const editingSprite = getSpriteByEvent(e);
    this.setState({ editingSprite });
  };

  // 递归渲染精灵的方法(这里只放表达将编辑态传入精灵的伪代码)
  renderSprite = (sprite: ISprite) => {
    const { editingSprite } = this.state;
    const editing = editingSprite?.id && editingSprite?.id === sprite.id;
    return (
      <Sprite key={sprite.id} sprite={sprite}>
        <SpriteComponent sprite={sprite} editing={editing} />
      </Sprite>
    );
  }
}
- 以文本精灵举例说明编辑态精灵
const TextEditor = ({ content, onChange }) => {
  return (
    // 使用foreignObject包裹,即可实现在svg内显示普通html标签
    <foreignObject x={0} y={0} width={width} height={height}>
      <input
        value={content}
        onChange={(e) => onChange(e.target.value)}
      />
    </foreignObject>
  );
};

export class TextSprite extends BaseSprite<IProps> {
  render() {
    const { sprite, editing } = this.props;
    const { content } = sprite.props;
    const { updateSpriteProps } = this.props.stage.apis;
    // 编辑态
    if (editing) {
      return (
        <TextEditor
          content={content}
          onChange={value => updateSpriteProps(sprite, { content: value })}
        />
      );
    }
    // 渲染态
    return (
      <text>{content}</text>
    );
  }
}
一些常用的精灵
1. 富文本
import React from 'react';
import type { ISpriteMeta } from '../../interface';
import { BaseSprite } from '../BaseSprite';

const RichTextEditor = ({ content, onChange }) => {
  return (
    // 使用foreignObject包裹,即可实现在svg内显示普通html标签
    <foreignObject
      {...props}
      x={0}
      y={0}
      width={width}
      height={height}
      style={{
        width: `${width}px`,
        height: `${height}px`,
        border: '1px solid #aaa',
        padding: '3px 5px',
        userSelect: 'none',
      }}>
      <div
        style={{ height: '100%', outline: 'none' }}
        contentEditable={editing}
        dangerouslySetInnerHTML={{ __html: props.content }}></div>
    </foreignObject>
  );
};


interface IProps {
  width: number;
  height: number;
  content: string;
}

const SpriteType = 'TextSprite';

export class TextSprite extends BaseSprite<IProps> {

  handleChange = (prop: string, value: string) => {
    const { sprite, stage } = this.props;
    stage.apis.updateSpriteProps(sprite, { [prop]: value });
  };

  render() {
    const { sprite, editing } = this.props;
    const { props, attrs } = sprite;
    const { width, height } = attrs.size;
    const { updateSpriteProps } = this.props.stage.apis;
    return (
      <RichTextEditor
        content={content}
        onChange={value => updateSpriteProps(sprite, { content: value })}
      />
    );
  }
}

export const TextSpriteMeta: ISpriteMeta<IProps> = {
  type: SpriteType,
  spriteComponent: TextSprite,
  initProps: {
    width: 100,
    height: 40,
    content: '',
  },
};

export default TextSpriteMeta;
2. 图片
import React from 'react';
import { BaseSprite } from '../BaseSprite';
import type { ISpriteMeta } from '../../interface';
import './index.less';

const ImageSrcInput = ({ content, onChange }) => {
  return (
    <foreignObject
      width={300}
      height={30}
      x={0}
      y={0}
      style={{ padding: '0 4px', overflow: 'visible' }}>
      <label>src</label>:
      <input
        value={url}
        onChange={(e) => onChange(e.target.value)}
      />
    </foreignObject>
  );
};

interface IProps {
  url: string;
}

const SpriteType = 'ImageSprite';

export class ImageSprite extends BaseSprite<IProps> {
  render() {
    const { sprite, editing } = this.props;
    const { props, attrs } = sprite;
    const { width, height } = attrs.size;
    const { url } = props;
    const { updateSpriteProps } = this.props.stage.apis;

    return (
      <g className="image-sprite-content">
        <image xlinkHref={url} x={0} y={0} width={width} height={height} />
        // 编辑态
        {editing && (
          <TextEditor
            content={content}
            onChange={value => updateSpriteProps(sprite, { url: value })}
          />
        )}
      </g>
    );
  }
}

export const ImageSpriteMeta: ISpriteMeta<IProps> = {
  type: SpriteType,
  spriteComponent: ImageSprite,
  operation: {
    resizeLock: true,
  },
  initProps: {
    url: '/img',
  },
};

export default ImageSpriteMeta;
3. 链接
import React from 'react';
import type { IDefaultGraphicProps, ISpriteMeta } from '../../interface';
import { BaseSprite } from '../BaseSprite';
import './index.less';
const LinkEditor = ({ href, target, text, onChange }) => {
return (
<foreignObject
width={width}
height={height}
x={0}
y={0}
style={{ padding: '0 4px', overflow: 'visible' }}>
<a
className="link-sprite-content"
href={href}
target={target}
style={{ color: '#1890ff' }}>
{text}
</a>
<div
className="link-sprite-panel"
style={{ top: `${height + 5}px` }}
onMouseDown={(e: any) => e.stopPropagation()}>
<div className="link-sprite-row-item">
<label className="link-sprite-row-label">文字</label>:
<input
className="link-sprite-row-input"
value={text}
onChange={(e: any) =>
onChange('text', e.target.value)
}
/>
</div>
<div className="link-sprite-row-item">
<label className="link-sprite-row-label">链接</label>:
<input
className="link-sprite-row-input"
value={href}
onChange={(e: any) =>
onChange('href', e.target.value)
}
/>
</div>
<div className="link-sprite-row-item">
<label className="link-sprite-row-label">新页面打开</label>:
<input
className="link-sprite-row-radio"
type="radio"
name="target"
value={target}
checked={target === '_blank'}
onChange={() => onChange('target', '_blank')}
/>
是
<input
className="link-sprite-row-radio"
type="radio"
name="target"
style={{ marginLeft: '10px' }}
value={target}
checked={target === '_self'}
onChange={() => onChange('target', '_self')}
/>
否
{/* <div className="button-container primary-button-container">确定</div> */}
</div>
</div>
</foreignObject>
);
}
interface IProps extends IDefaultGraphicProps {
href: string;
text: string;
target?: '_blank' | '_self' | '_parent' | '_top';
}
const SpriteType = 'LinkSprite';
export class LinkSprite extends BaseSprite<IProps> {
handleChange = (name: string, value: string) => {
const { sprite, stage } = this.props;
const { updateSpriteProps } = stage.apis;
updateSpriteProps(sprite, { [name]: value });
};
render() {
const { sprite, editing } = this.props;
const { props, attrs } = sprite;
const { size, coordinate } = attrs;
const { width, height } = size;
const { x, y } = coordinate;
const { href = '', text = '', target = '_self' } = props;
if (editing) {
return (
<LinkEditor
href={href}
target={target}
text={text}
onChange={this.handleChange}
/>
);
}
return (
<>
<a xlinkHref={href} target="new" style={{ userSelect: 'none' }}>
<text x={x + 4} y={y + 16} fill="#1890ff" dominantBaseline="end">{text}</text>
</a>
</>
);
}
}
export const LinkSpriteMeta: ISpriteMeta<IProps> = {
type: SpriteType,
spriteComponent: LinkSprite,
initProps: {
href: '',
text: '链接',
target: '_blank',
},
};
export default LinkSpriteMeta;
其他常用图形精灵建议
鼓励大家在此基础上开发出很多好用的精灵,然后在评论区分享~

对使用svg画图的同学不太熟悉的可以从这里了解:SVG 教程 – 菜鸟教程
-
有各种svg绘图的常用方法
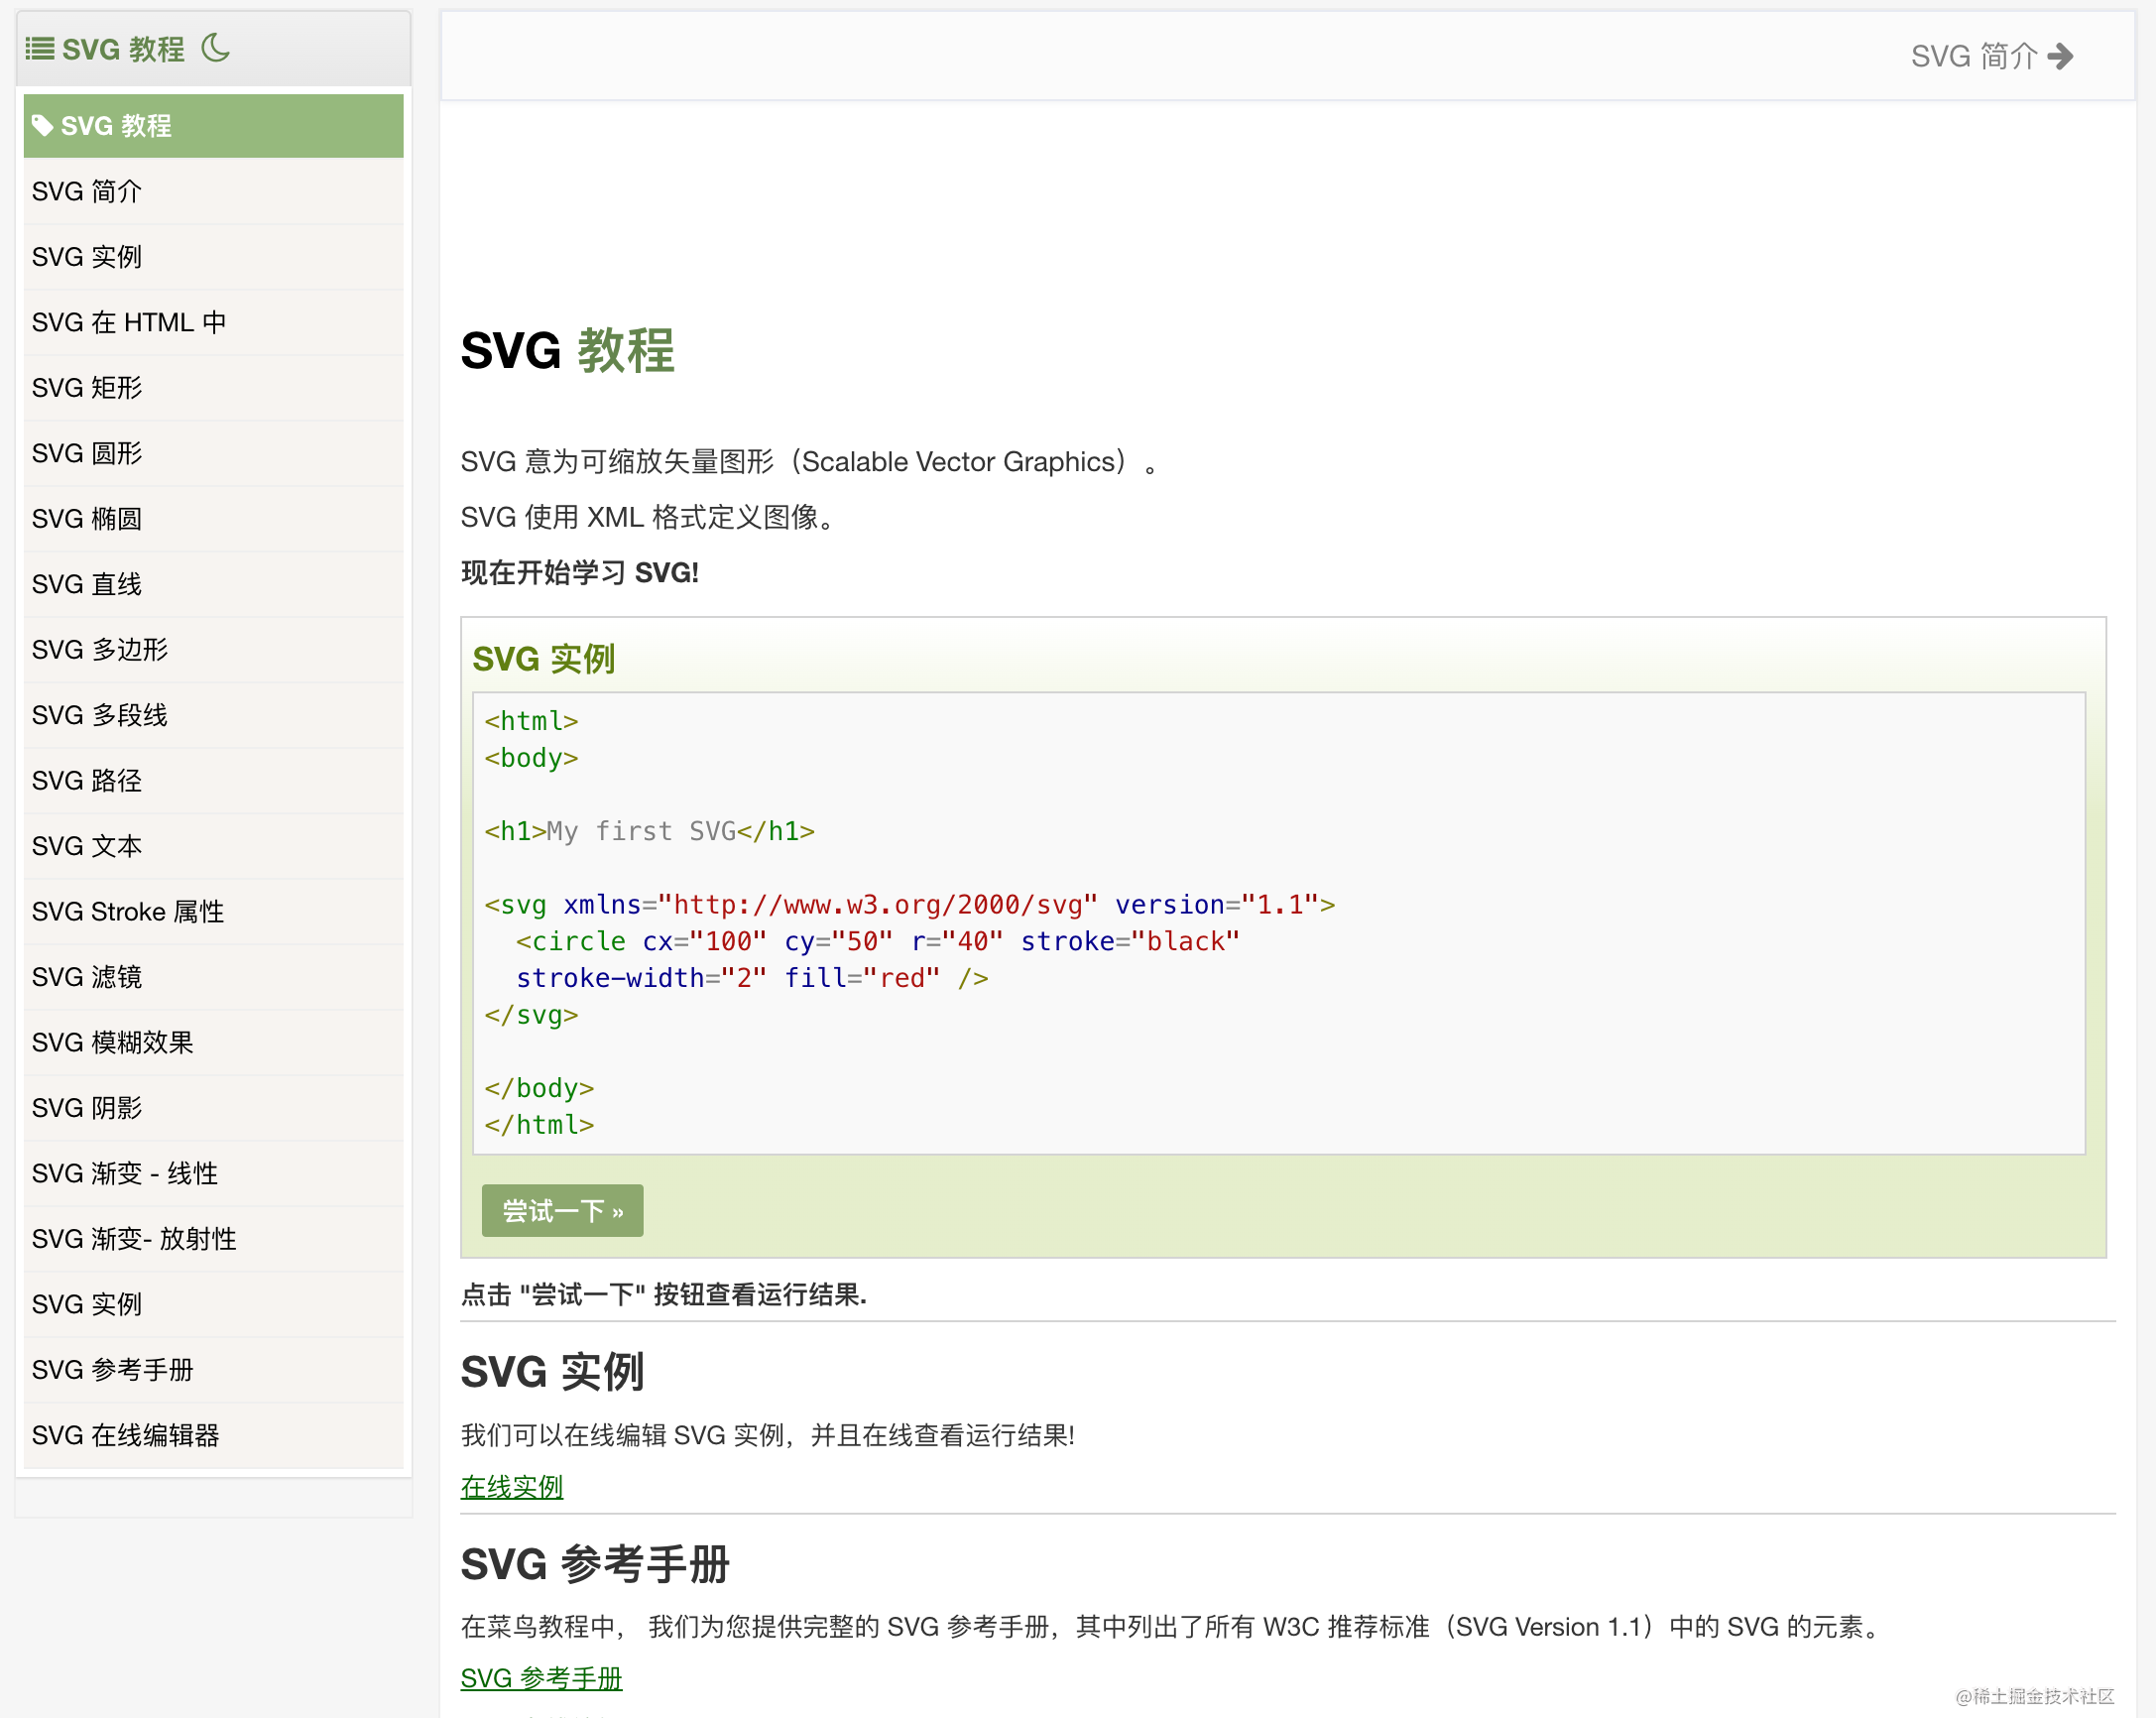
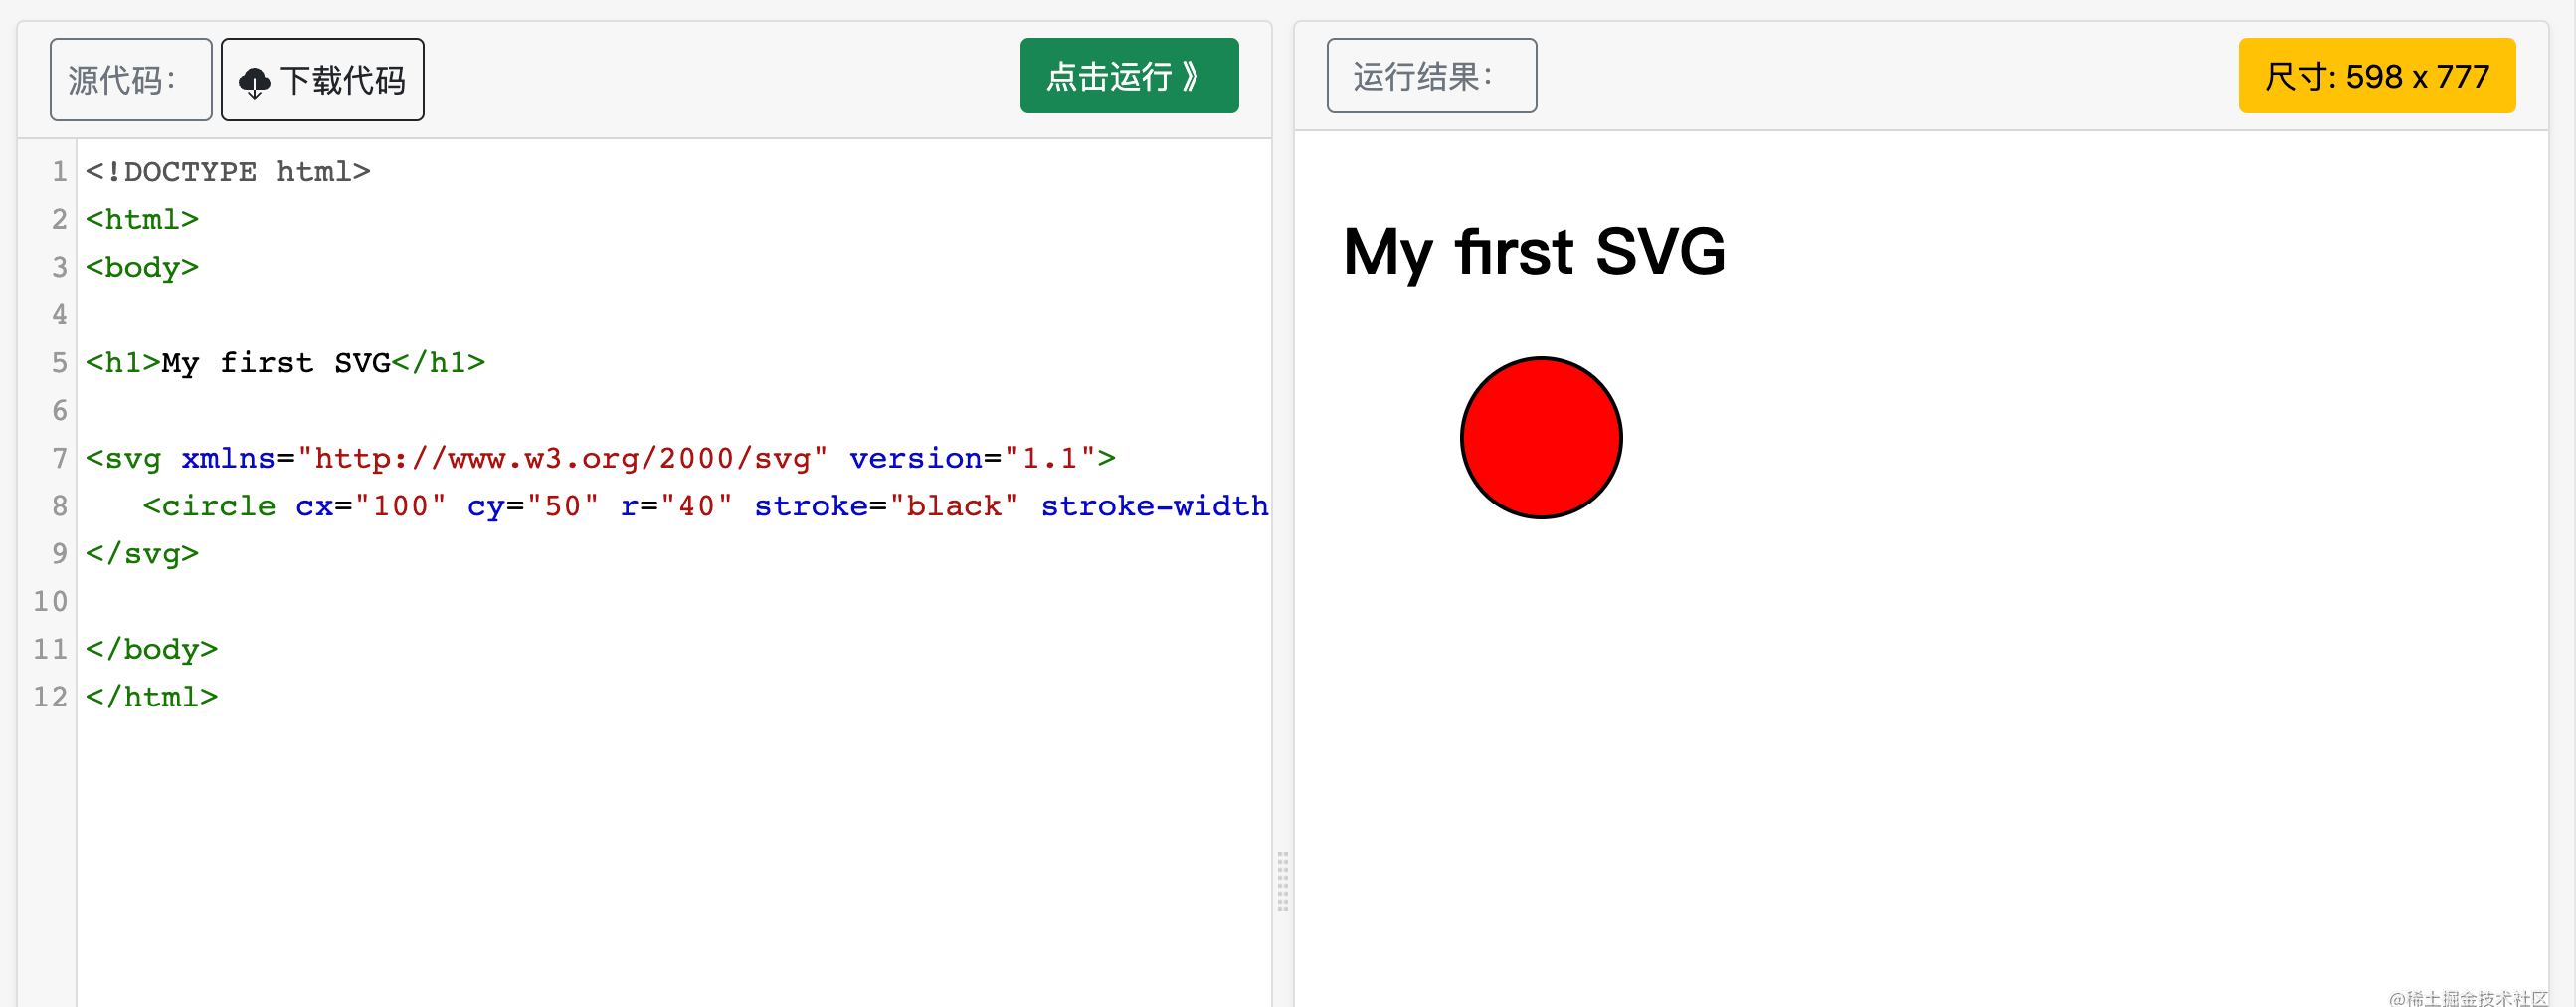
-
可以在线预览展示svg的例子
通用:
- 文字
- 图片
- 链接
- 音频
- 视频
- 表格
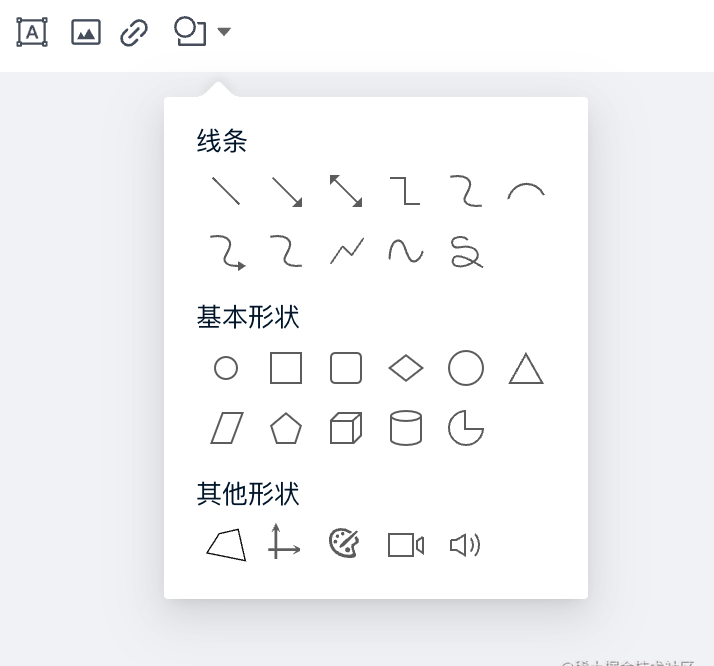
形状:
- 矩形
- 圆角矩形
- 点
- 三角形
- 椭圆
- 平行四边形
- 菱形
- 五边形
- 六边形
- 扇形
- 自由多边形
- 立方体
- 圆柱体
线类:
- 线段
- 射线
- 直线
- 折线
- 二阶贝塞尔曲线
- 三阶贝塞尔曲线
- 平滑曲线(用平滑曲线连接折线图的点)
- 自由路径曲线(用鼠标画出来的曲线)
连接线类:
- 连接线
- 直角连接线
- 平滑曲线连接线
其他:
- 轮播图
- iframe网页
- 计时器、倒计时
- 时钟
- 公式(基于LaTex)
- 代码高亮块
- 其他…
原文链接:https://juejin.cn/post/7215620087825481784 作者:前端君