
自己做个 Material Ripple 效果的按钮|项目复盘
背景介绍
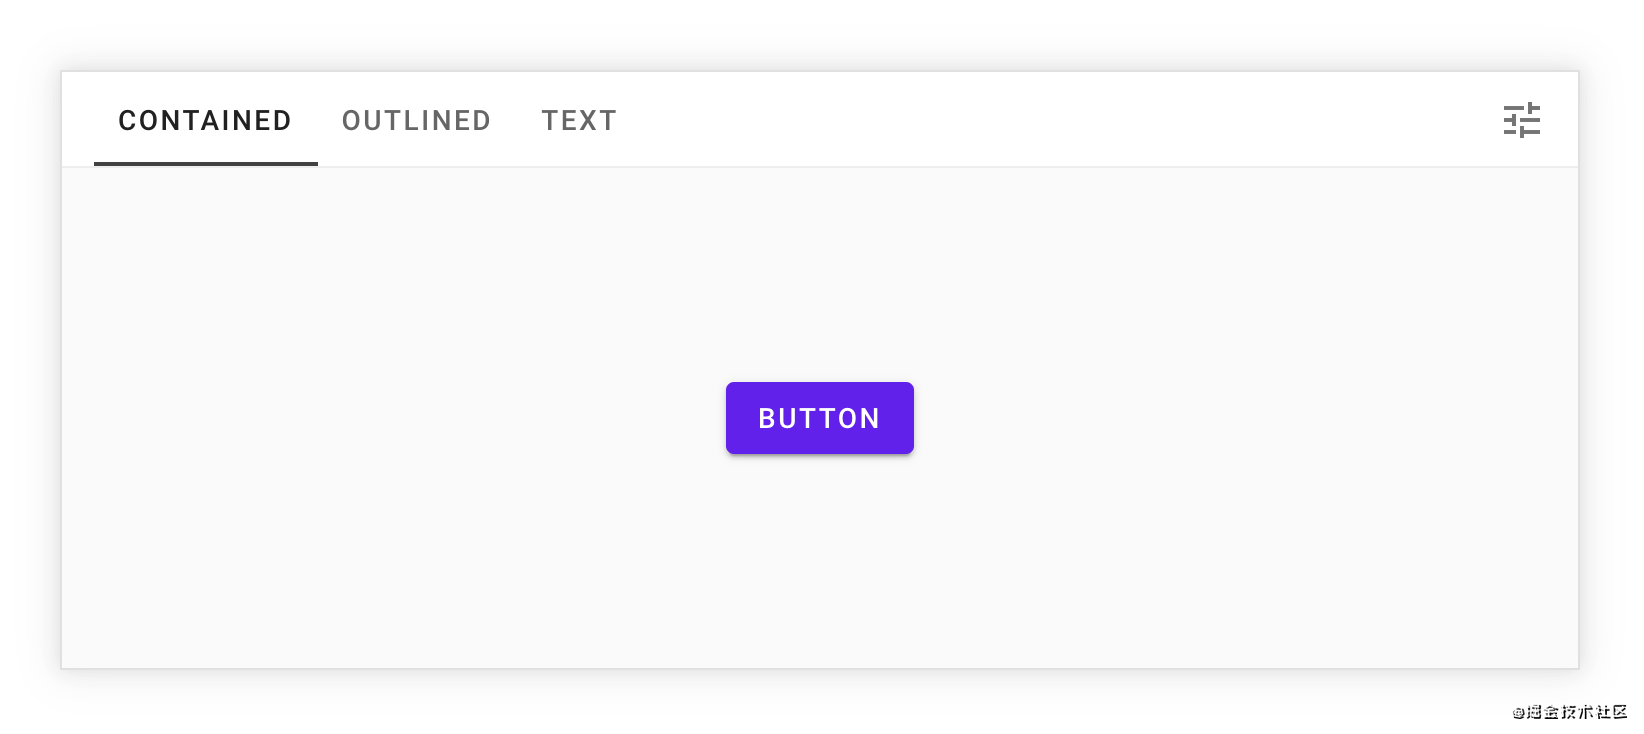

我感觉他挺好看的!
我第一次发现 Material Design 是几年前玩 Android(当时还不会开发 Android 应用程序)时候看到的些贴文。那时候我就超级喜欢它的按钮组件。它有着波纹效果,以简单,优雅的方式为用户提供反馈,Q 弹爆汁儿~
那时候的我也只会使用固定的 :hover :focus 样式,效果固定而死板,那是我这种一班人用的,Google 那群二班的真的太强了!!!
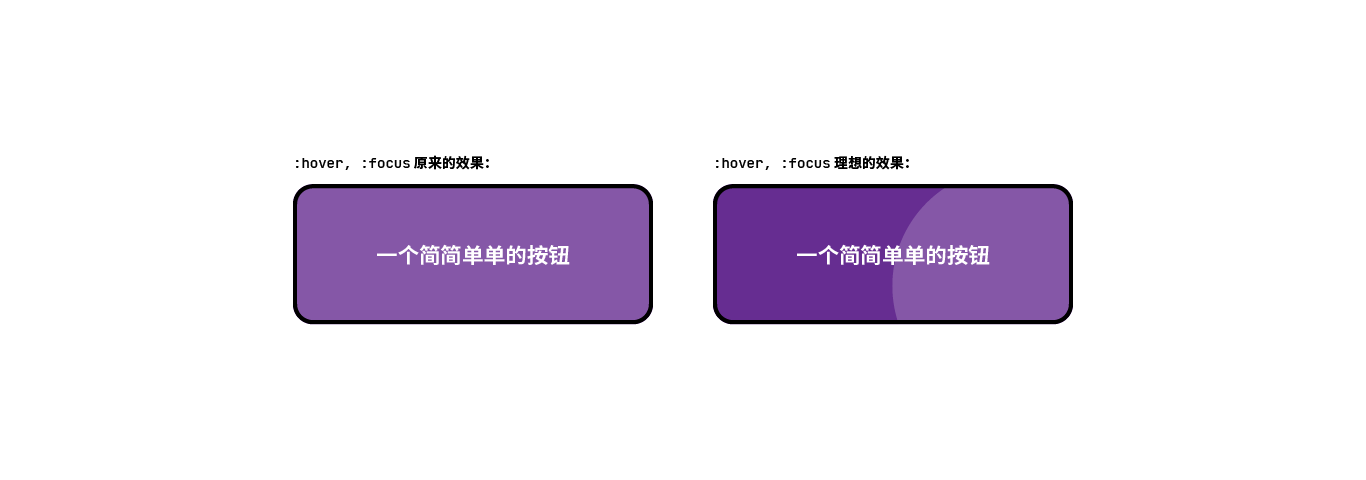
你看看这圆润的外框,这活泼的颜色 ♂︎,这似乎汁水四溢的效果,是不是像极了你们欠我的那个赞 :)

我们可以完全做到一样的效果!
需求一览
- Ripple 效果
- 自动为所有元素加效果
- 监听新元素的插入
该咋办?
我打算用 JavaScript 监听点击事件,向按钮添加子元素(Ripple 动效元素),并向按钮添加 .ripple 类,并监听 DOM 树中的变化,如果有 .ripple 元素的加入,就为其绑定 Ripple 效果。
stateDiagram-v2
[*] --> 按钮事件
按钮事件 --> 未绑定
按钮事件 --> 已绑定
未绑定 --> 绑定按钮
绑定按钮 --> 动效
已绑定 --> 动效
动效 --> 添加 ripple
添加 ripple --> 添加子元素
添加子元素 --> [*]
HTML
<button>一个简简单单的按钮</button>
CSS
对于 Ripple 效果,我们会等下直接用 JavaScript 去动态设置,而样式的定义,就在如下的一些代码中解决:
button {
    position: relative;
    overflow: hidden;
}
使用 position: relative 允许我们等下构造的子元素针对按钮本体能够使用 position: absolute。同时,overflow: hidden 可以帮助我们防止 Ripple 效果超出按钮的轮廓。然后再装饰一下:
/* 用上 Material 的默认字体 */
@import url('https://fonts.googleapis.com/css2?family=Roboto&display=swap');

button {
    position: relative; /* 下文中会用到的相对绝对位置 */
    overflow: hidden;
    transition: background 400ms ease-in-out; /* 设置切换 */
    color: #fff;
    background-color: #662D91;
    padding: 1rem 2rem;
    font-family: 'Roboto', sans-serif;
    outline: 0;
    border: 0;
    border-radius: 0.25rem;
    box-shadow: 0 0 0.5rem rgba(0, 0, 0, 0.2);
    cursor: pointer;
}
现在它是这样的:

Ripple
Ripple 效果实际上就是一个半径不断扩展的标准圆,而被沿着按钮外框裁切掉。因此我们先来绘制一个标准圆:
span.ripple {
    position: absolute; /* 上文中我们提到过的相对绝对位置 */
    border-radius: 50%;
    transform: scale(0);
    animation: ripple 600ms linear;
    background-color: rgba(255, 255, 255, 0.2);
}
为了使波纹变圆,我们设置 border-radius 为 50%。而为了确保动画开始时候没有效果,我们设置了默认缩放比例 0。现在,我们将无法看到任何东西,因为我们还没有设置 top、left、width 以及 height,也没有修改默认缩放比例 transform: scale(0)。不用着急,马上我们就会用 JavaScript 设置这些属性!
现在我们还需要给 Ripple 效果添加动画切换,就让它缩放到 4 倍大小吧:
@keyframes ripple {
    to {
        transform: scale(4);
        opacity: 0;
    }
}
JavaScript
现在我们需要使用 JavaScript 来动态设置 Ripple 起始圆心的位置和 Ripple 大小。这个大小应基于按钮的大小,而位置应基于按钮和光标的位置。
事件绑定
先来绑定 click 事件:
[...document.querySelectorAll(".ripple")].forEach(btn => {
    btn.addEventListener("click", showRipple);
});
然后我们可以使用 event.currentTarget 获取到当前元素:
const btn = event.currentTarget;
获取到了被点击的按钮,现在我们来构建一个子元素,并计算按钮的半径大小:
const circle = document.createElement("span");
const diameter = Math.max(button.clientWidth, button.clientHeight);
const radius = diameter / 2;
现在,我们可以定义我们需要为我们的涟漪其余属性:left、top、width 和 height。
数据计算
我们知道,top 应该等于点击事件的 (x, y) 减去按钮的中心点的 (x, y):
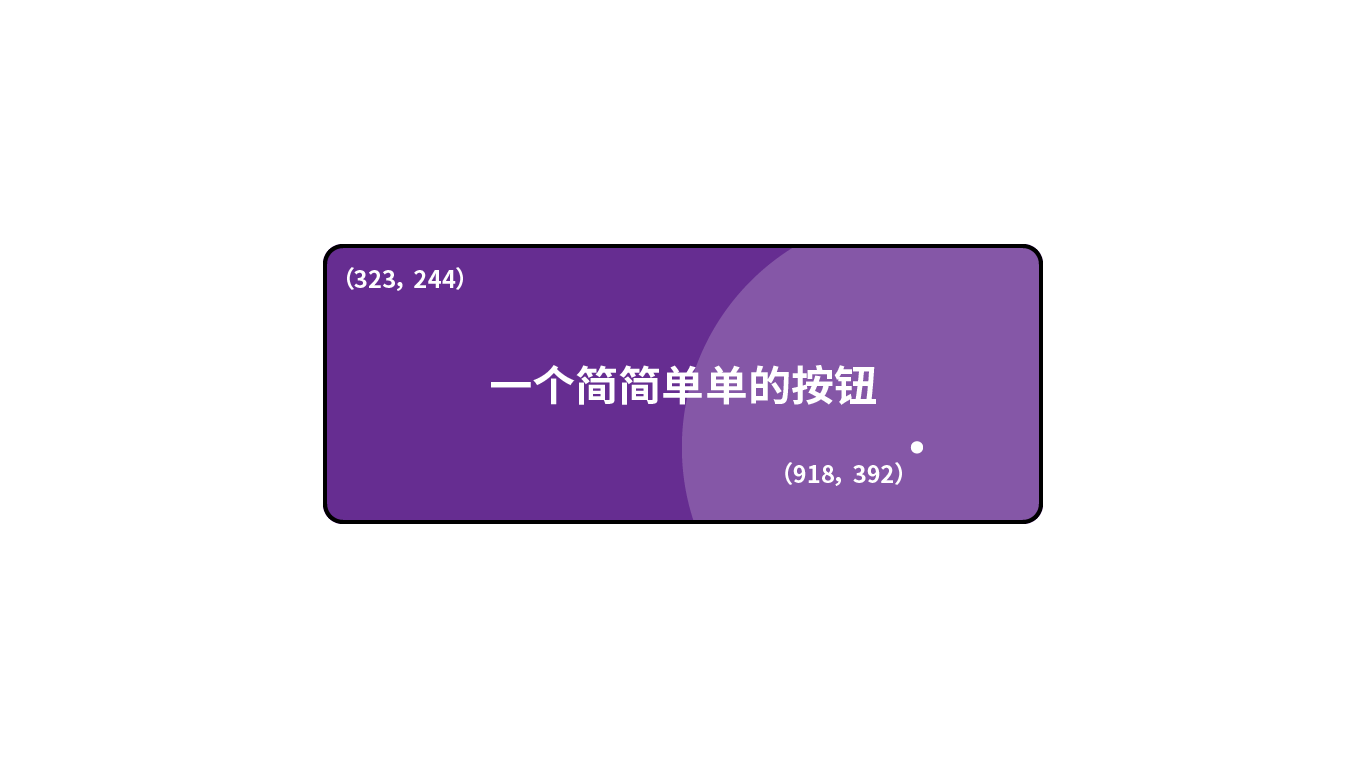
例如上面的图片,圆心中心点应该就是 (918 - 323, 392 - 244) 即 (595, 148)。
因此,我们可以得出应该这样设置这个圆:
circle.style.width = circle.style.height = `${diameter}px`;
circle.style.left = `${event.clientX - (button.offsetLeft + radius)}px`;
circle.style.top = `${event.clientY - (button.offsetTop + radius)}px`;
circle.classList.add("ripple");
然后现在我们将这个 circle 添加到 btn 即可:
btn.appendChild(circle);
完整的代码就是:
const showRipple = (event) => {
    const btn = event.currentTarget;

    const circle = document.createElement("span");
    const diameter = Math.max(btn.clientWidth, btn.clientHeight);
    const radius = diameter / 2;

    circle.style.width = circle.style.height = `${diameter}px`;
    circle.style.left = `${event.clientX - (btn.offsetLeft + radius)}px`;
    circle.style.top = `${event.clientY - (btn.offsetTop + radius)}px`;
    circle.classList.add("ripple");

    btn.appendChild(circle);
    setTimeout(() => {
        btn.removeChild(circle)
    }, 1000); /* 记得移除元素 */
}
Show Time!

这就满足了吗?? 未尝也太简单了吧?
监听页面元素更新
现在我们需要监听所有元素的更新!自动让系统为所有新增的按钮添加一样的动画!!!
到我们的 MutationObserver 发挥它的作用啦!!!
我们先需要定义一个接受事件并处理数据的函数,先暂且命名为 listener:
const listener = (mutationRecord) => {
    /**
     * @param mutationRecord: Callback of MutationObserve
     *  => mutations: MutationRecord[]
     */
 }
然后定义一个监听工具并初始化:
const mutationObserver = new MutationObserver(listener);
mutationObserver.observe(document, {subtree: true, childList: true, attributes: true});
一般来说,可能会有两种情况:
- childList / subtree
- attributes
属性变化
如果是元素的属性变化,那么 mutationRecord.type 会是 attributes,那么我们直接:
if (mutationRecord.type === "attributes" && mutationRecord.attributeName === "ripple" && !mutationRecord.target.hasAttribute("ripple-init")) {
    mutationRecord.target.addEventListener("click", showRipple);
    mutationRecord.target.setAttribute("ripple-init", "");
}
元素变化
而如果是生成了元素,那么也很简单粗暴,直接遍历 mutationRecord.addedNodes 即可:
if (mutationRecord.addedNodes && mutationRecord.addedNodes.length > 0)
    mutationRecord.addedNodes.forEach(node => {
        if (node.nodeType === Node.ELEMENT_NODE && !node.hasAttribute("ripple-init") && node.hasAttribute("ripple")) {
node.addEventListener("click", showRipple);
node.setAttribute("ripple-init", "");
        }
    });
让我们来测试一下效果吧,就用 setTimeout 在 100ms 以后生成一个 .ripple 的按钮吧:
setTimeout(() => {
    document.querySelector("button").setAttribute("ripple", "");
    let btn = document.createElement("button");
    btn.setAttribute("ripple", "");
    btn.innerText = "这是另外一个简单的按钮"
    document.body.appendChild(btn);
}, 2000);
总结思考
看了看 GitHub 的文件,一年前的更新啊……

似乎也没什么可以改进的(误)
- 支持更多种类的 Material Button 的 Ripple 效果
- 将
MutationObserver推广应用在别的地方 - 应用这段代码(当时也是无聊,学了一下,而我却也没有什么网站有很多的按钮控件,直接改又会与当前的样式不搭配)
欢迎各位一起加入 掘金翻译计划大家庭,一起助力掘金变得更棒
本文正在参与「掘金 2021 春招闯关活动」, 点击查看 活动详情