
wujie-vue2源码解析
前言
在前面的文章中,我们对无界的使用方式和整体架构进行了分析,wujie-vue2、wujie-vue3、wujie-react作为无界架构中的重要一环,起到了桥梁的作用,对不同框架做了适配,今天我们就来分析一下wujie-vue2的源码,看看它是如何实现的
整体架构
当我们使用无界时,通常是这样使用的:
<WujieVue width="100%" height="100%" name="vue2" :url="'//localhost:7200/'" :sync="true"></WujieVue>
wujie-vue2的整体架构如下图所示:
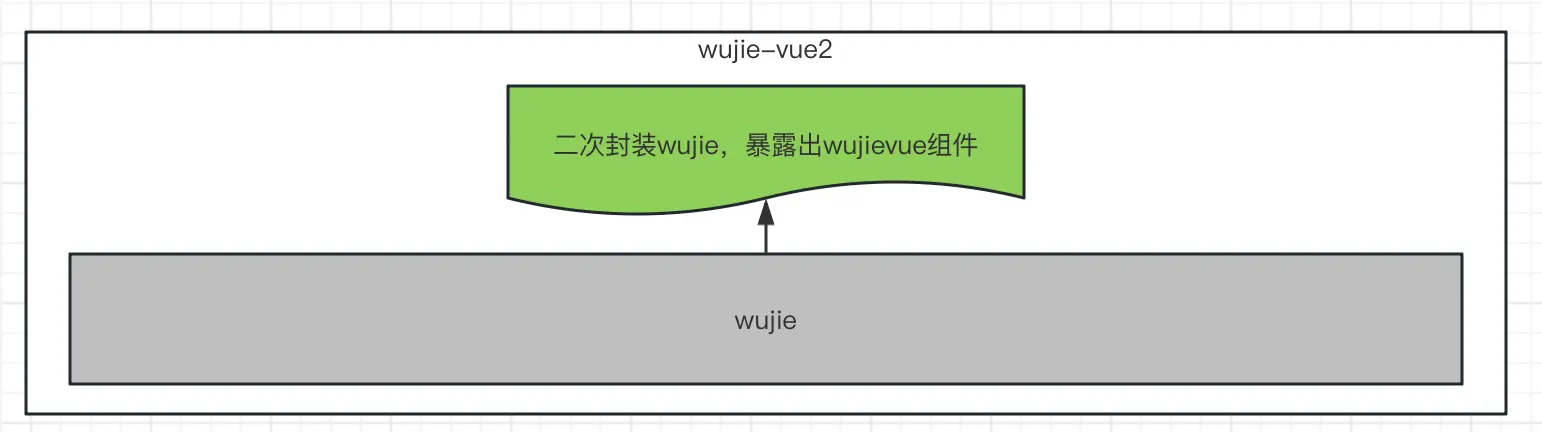

wujie-vue2依赖wujie,并且以插件的形式暴露出一个组件,这样我们在开发的时候就可以使用这个组件了
目录结构
我们先来看下wujie-vue2的目录结构
├── package.json
├── webpack.config.js
├── index.js
还有一些其他的文件,这里就不一一列举了,我们主要看下index.js文件,这个文件是wujie-vue2的入口文件。
核心代码
我们首先看下wujie-vue2的入口文件index.js的输入输出
import Vue from "vue";
import { bus, preloadApp, startApp as rawStartApp, destroyApp, setupApp } from "wujie";

const wujieVueOptions = {
 // code...
};

const WujieVue = Vue.extend(wujieVueOptions);

WujieVue.setupApp = setupApp;
WujieVue.preloadApp = preloadApp;
WujieVue.bus = bus;
WujieVue.destroyApp = destroyApp;
WujieVue.install = function (Vue) {
Vue.component("WujieVue", WujieVue);
};

export default WujieVue;
这段代码比较简单,我们来分析下:
- 首先我得依赖了vue以及wujie
- 定义了一个
wujieVueOptions对象,这个对象是wujie-vue2的配置项,我们后面会详细分析 - 通过
Vue.extend方法创建了一个WujieVue组件,这个组件就是我们在开发的时候使用的组件 - 在
WujieVue组件上挂载了一些方法,包括注册组件、预加载、事件通信、销毁 - 最后挂载了一个install方法,这个方法我们比较熟悉,就是vue插件的安装方法,让后将
WujieVue暴露出去
现在我们分析下wujie-vue2的配置项wujieVueOptions
const wujieVueOptions = {
name: "WujieVue",
props: {
width: { type: String, default: "" },
height: { type: String, default: "" },
name: { type: String, default: "" },
loading: { type: HTMLElement, default: undefined },
url: { type: String, default: "" },
sync: { type: Boolean, default: undefined },
prefix: { type: Object, default: undefined },
alive: { type: Boolean, default: undefined },
props: { type: Object, default: undefined },
attrs: {type: Object, default: undefined},
replace: { type: Function, default: undefined },
fetch: { type: Function, default: undefined },
fiber: { type: Boolean, default: undefined },
degrade: { type: Boolean, default: undefined },
plugins: { type: Array, default: null },
beforeLoad: { type: Function, default: null },
beforeMount: { type: Function, default: null },
afterMount: { type: Function, default: null },
beforeUnmount: { type: Function, default: null },
afterUnmount: { type: Function, default: null },
activated: { type: Function, default: null },
deactivated: { type: Function, default: null },
loadError: { type: Function, default: null },
},
data() {
return {
startAppQueue: Promise.resolve(),
};
},
mounted() {
bus.$onAll(this.handleEmit);
this.execStartApp();
this.$watch(
() => this.name + this.url,
() => this.execStartApp()
);
},
methods: {
handleEmit(event, ...args) {
this.$emit(event, ...args);
},
async startApp() {
try {
// $props 是vue 2.2版本才有的属性,所以这里直接全部写一遍
await rawStartApp({
name: this.name,
url: this.url,
el: this.$refs.wujie,
loading: this.loading,
alive: this.alive,
fetch: this.fetch,
props: this.props,
attrs: this.attrs,
replace: this.replace,
sync: this.sync,
prefix: this.prefix,
fiber: this.fiber,
degrade: this.degrade,
plugins: this.plugins,
beforeLoad: this.beforeLoad,
beforeMount: this.beforeMount,
afterMount: this.afterMount,
beforeUnmount: this.beforeUnmount,
afterUnmount: this.afterUnmount,
activated: this.activated,
deactivated: this.deactivated,
loadError: this.loadError,
});
} catch (error) {
console.log(error);
}
},
execStartApp() {
this.startAppQueue = this.startAppQueue.then(this.startApp);
},
destroy() {
destroyApp(this.name);
},
},
beforeDestroy() {
bus.$offAll(this.handleEmit);
},
render(c) {
return c("div", {
style: {
width: this.width,
height: this.height,
},
ref: "wujie",
});
},
};
整体上看,这个配置项就是一个vue组件的配置项,我们在开发的时候,可以通过这些配置项来配置我们的组件
我们还是以上文提到的例子为入手点,从组件实际使用时的生命周期的角度来分析下:
- 当我们使用该组件的时候,props会传入一些参数,例如:width、height、name、url等等,这几个参数都比较好理解,width、height是组件的宽高,name是组件的名称,url是组件的地址
- render函数会渲染一个div,这个div的宽高就是我们传入的width和height,这个div的ref是wujie
- 当组件挂载到页面上的时候,会执行
mounted钩子函数,这个钩子函数中,做了三件事情:- 监听了bus的所有事件,当bus触发事件的时候,会执行
handleEmit方法,这个方法会将bus的事件转化为vue的事件,然后触发vue的事件 - 执行了
execStartApp方法,这个方法会执行startApp方法,继而会执行rawStartApp方法,这个方法是重点,我们以后会分析,这个函数最终会渲染一个子应用 - 添加
watch监听了name和url的变化,当name和url发生变化的时候,会重新执行execStartApp方法,完成组件的重新渲染
- 监听了bus的所有事件,当bus触发事件的时候,会执行
- 当组件销毁的时候,会执行
beforeDestroy钩子函数,钩子函数会移除bus的所有事件监听
总结
wujie-vue2的源码简单清晰,主要是对wujie的封装,最终暴露出一个我们大家都认识的组件,我们在开发的时候,只需要像正常使用一个组件一样使用它就可以了,非常方便。在wujie-vue3,wujie-react中,也是类似的封装逻辑,大家有兴趣可以自行了解。
下期预告:我们将开始分析wujie-core的源码,敬请期待。
今天的分享就到这里,感谢大家的阅读,如果大家喜欢我的文章,可以给个star,你们的支持是我写作的最大动力,谢谢大家!
原文链接:https://juejin.cn/post/7312724111399518271 作者:几时归去做个闲人