

前段时间,参加了崔哥的活动写一个mini-react,现在来对整个项目进行复盘和总结。
简介
在本篇文章中,我们将一起探索如何从零构建一个迷你版的React框架。通过这个过程,不仅能够加深对React内部机制的理解,还能学习到虚拟DOM、组件生命周期和状态管理等核心概念的实际应用。这篇文章旨在深入浅出地理解React工作原理。
问题清单
Q1:怎么处理jsx?
Q2: 如果需要渲染数字,怎么处理?
步骤拆分
简单渲染
我们先来看下react文档的案例
import { createRoot } from 'react-dom/client';
// Clear the existing HTML content
document.body.innerHTML = '<div id="app"></div>';
// Render your React component instead
const root = createRoot(document.getElementById('app'));
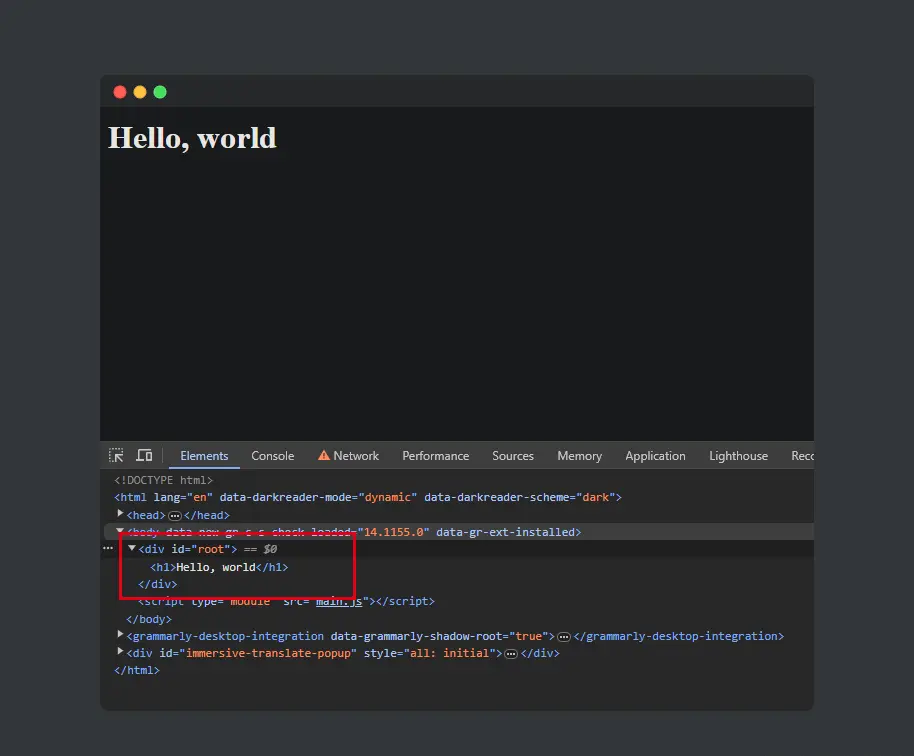
root.render(<h1>Hello, world</h1>);
如果我们使用原生JS,可以得到:
const app = document.createElement('div')
app.id = 'app'

const h1 = document.createElement('h1')
h1.textContent = 'Hello world'

app.appendChild(h1)

document.body.append(app)
我们能否用一种数据结构来描述整个结构树,并对渲染函数进一步抽象
- 虚拟DOM(Virtual DOM)是对真实DOM的抽象表示,并且附加了额外的属性以优化React的更新过程。
// vdom
const vdom = {
  type: 'div',
  props: {
    id: 'app',
    children: [
      {
        type: 'h1',
        props: {
          children: 'Hello world'
        }
      }
    ]
  }
}
// App.jsx
// 这行一定要加上,vite编译时会转为React.createElement使用
import React from "./core/React"
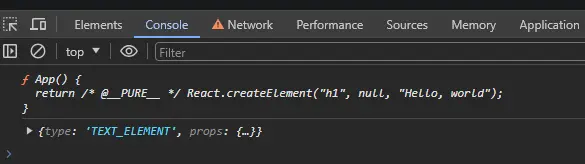
function App() {
return <h1>Hello, world</h1>
}
export default App
// main.js
import ReactDom from './core/ReactDOM';
import App from './App.jsx';
const root = ReactDom.createRoot(document.querySelector('#root'))
root.render(App)
// React.js
function createElement(type, props, ...children) {
  return {
    type,
    props: {
      ...props,
      children: children.map((child) => {
        const isTextNode = typeof child === 'string'
        return isTextNode ? createTextNode(child) : child
      })
    }
  }
}
function createTextNode(text) {
  return {
    type: 'TEXT_ELEMENT',
    props: {
      nodeValue: text,
      children: []
    }
  }
}

function render(el, container) {
  // 处理函数组件
  if (typeof el === 'function') el = el()
  const dom =
    el.type === 'TEXT_ELEMENT'
      ? document.createTextNode('')
      : document.createElement(el.type)
  const isProperty = (key) => key !== 'children'
  Object.keys(el.props)
    .filter(isProperty)
    .forEach((name) => {
      dom[name] = el.props[name]
    })
  el.props.children.forEach((child) => {
    render(child, dom)
  })
  container.append(dom)
}

const React = {
  render,
  createElement
}

export default React
// ReactDOM
import React from "./React.js";

// 返回一个对象包含render函数
const ReactDOM = {
  createRoot(container) {
    return {
      render(App) {
        React.render(App, container);
      },
    };
  },
};

export default ReactDOM;
Q1:怎么处理jsx?
Vite 通过内置插件 @vitejs/plugin-react 来处理 JSX 文件。这个插件的具体作用是在构建阶段将 JSX 代码转换为 React.createElement 调用的形式。这样的转换使得浏览器可以执行转换后的代码,因为浏览器不能直接理解 JSX 语法。

Q2: 如果需要渲染数字,怎么处理?
function App() {
  return (
    <div>
      <h1>Hello, world!</h1>
      <h2>{123}</h2>
    </div>
  )
}
在我们的实现中,元素的创建是通过createElement函数来处理的。为了提高这一过程的健壮性和功能性,我们在现有的基础上添加对数字类型的处理。当检测到数字类型时,系统会自动将其转换为TextNode。
function createElement(type, props, ...children) {
  return {
    type,
    props: {
      ...props,
      children: children.map((child) => {
        // number
        const isTextNode = typeof child === 'string'|| typeof child === 'number'
        return isTextNode ? createTextNode(child) : child
      })
    }
  }
}
总结
在本章节中,我们对从零开始构建一个迷你React框架的基本渲染功能进行了深入研究。我们实现了创建虚拟DOM的过程以及将虚拟DOM转换成实际DOM节点的机制——通常称为渲染(render)方法。此外,我们还阐明了JSX解析的基本原理。下一节,我们将实现批量更新的功能。
原文链接:https://juejin.cn/post/7336155029936701481 作者:xianjianlf2