
给上一章做一个补充,就是实现通过上下左右按键移动所选节点。
继续求 Star ,希望大家多多一键三连,十分感谢大家的支持~
创作不易,Star 50 个,创作加速!
通过按键移动节点

准备工作
给 SelectionTool 添加两个必要的方法:
  // 更新已选位置
  selectingNodesAreaMove(offset: Konva.Vector2d) {
    this.selectingNodesArea?.x(this.selectingNodesArea.x() + offset.x)
    this.selectingNodesArea?.y(this.selectingNodesArea.y() + offset.y)
  }

  // 更新节点位置
  selectingNodesMove(offset: Konva.Vector2d) {
    for (const node of this.render.selectionTool.selectingNodes) {
      node.x(node.x() + offset.x)
      node.y(node.y() + offset.y)
    }
  }
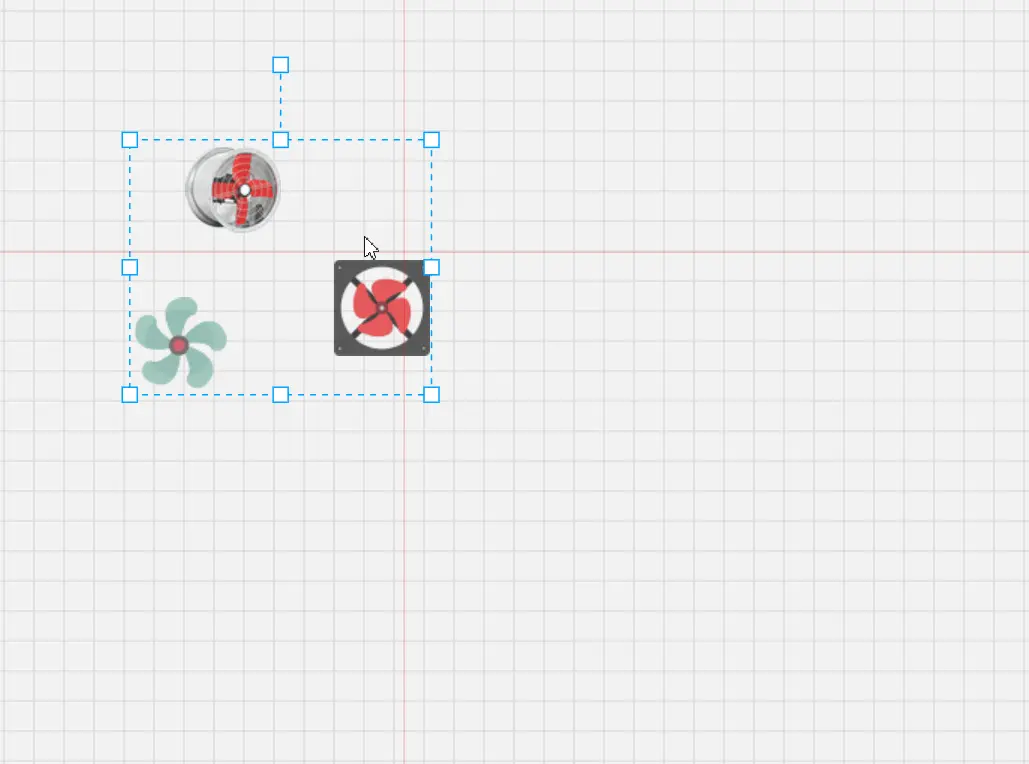
根据上一章的设计,选中一个/多个节点的时候,还会伴随一个 group 作为辅助,所以我们除了移动所选节点的同时,还需要移动 selectingNodesArea。
按键控制,就是需要处理 dom 的 keydown 和 keyup 两个事件,放在 KeyMoveHandlers 文件中,这里是核心代码:
      keydown: (e: GlobalEventHandlersEventMap['keydown']) => {
        if (!e.ctrlKey) {
          if (
            Object.values(Types.MoveKey)
              .map((o) => o.toString())
              .includes(e.code)
          ) {
            if (e.code === Types.MoveKey.上) {
              this.render.selectionTool.selectingNodesAreaMove({ x: 0, y: -this.speed })
              this.render.selectionTool.selectingNodesMove({ x: 0, y: -this.speed })
            } else if (e.code === Types.MoveKey.左) {
              this.render.selectionTool.selectingNodesAreaMove({ x: -this.speed, y: 0 })
              this.render.selectionTool.selectingNodesMove({ x: -this.speed, y: 0 })
            } else if (e.code === Types.MoveKey.右) {
              this.render.selectionTool.selectingNodesAreaMove({ x: this.speed, y: 0 })
              this.render.selectionTool.selectingNodesMove({ x: this.speed, y: 0 })
            } else if (e.code === Types.MoveKey.下) {
              this.render.selectionTool.selectingNodesAreaMove({ x: 0, y: this.speed })
              this.render.selectionTool.selectingNodesMove({ x: 0, y: this.speed })
            }

            if (this.speed < this.speedMax) {
              this.speed++
            }
          }
        }
      },
      keyup: () => {
        this.speed = 1
      }
这里设计的规则是,按一下移动 1 像素,按着不动则会按 1 像素增速移动,松开按键则恢复原来速度。
接下来,计划实现下面这些功能:
- 放大缩小所选的“磁贴效果”(基于网格)
- 拖动所选的“磁贴效果”(基于网格)
- 节点层次单个、批量调整
- 键盘复制、粘贴
- 等等。。。
是不是更加有趣呢?是不是值得更多的 Star 呢?勾勾手指~
原文链接:https://juejin.cn/post/7356411935418499091 作者:xachary