
前言
在入门学习webgpu的时候,大部分教程都会拿一个三角形举例,学习了一个最基础的图形,接下来我们可以利用三角形组装成任何想要的图形,例如圆形。
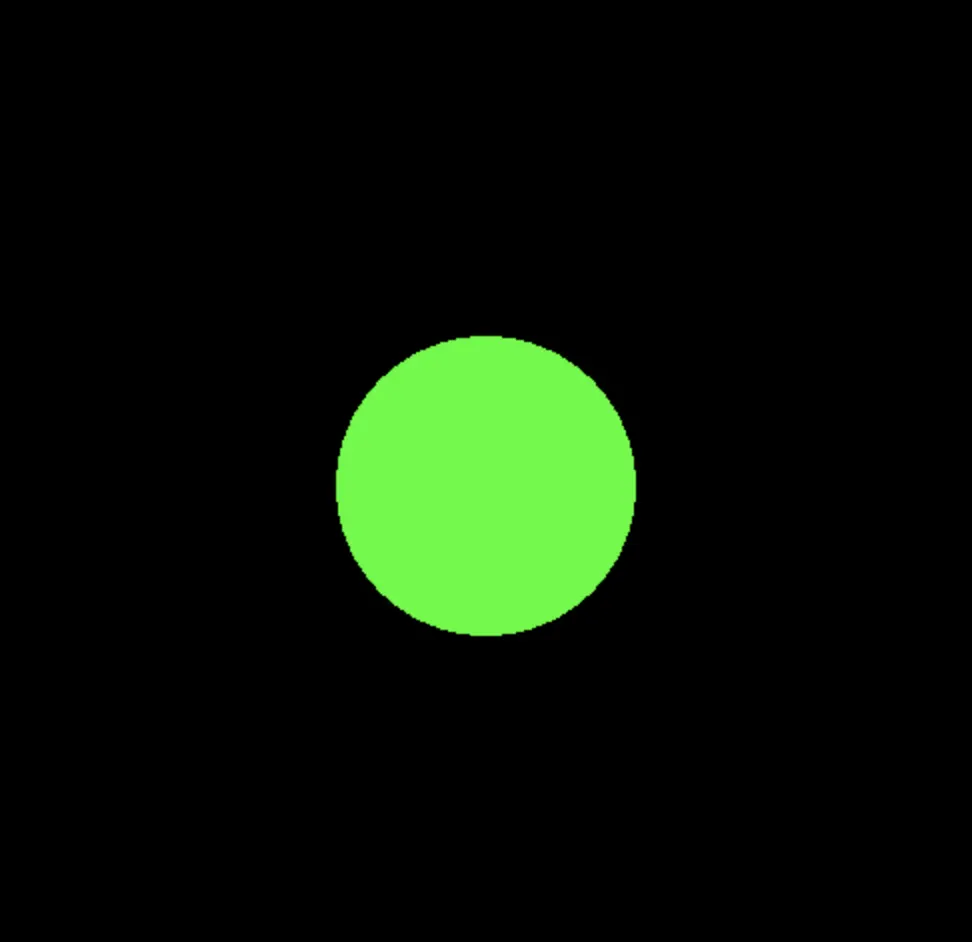
实现效果
效果如下图

实现流程
1、获取gpu设备
计算器可能有多个gpu设备,比如一个独显和一个集显,通过请求适配器,开发者就能获取gpu设备列表,选择某个设备了。
  //获取gpu适配器
  const adapter = await navigator.gpu.requestAdapter()
  if(!adapter){
    throw new Error('requestAdapter Error')
  }

  //获取gpu设备
  const device = await adapter.requestDevice()  as GPUDevice
2、定义画布,将画布与gpu设备绑定
在html定义好画布
<canvas id="webgpu" width="500" height="500"></canvas>
在js中获取canvas gpu上下文 ,并将gpu设备与要绘制的canvas进行一个绑定,这样gpu才知道你要渲染到哪个画布上
  //获取画布信息
  const canvas = document.getElementById('webgpu') as HTMLCanvasElement
  //获取webgpu上下文
  const context = canvas.getContext('webgpu') as GPUCanvasContext


 //画布和gpu设备绑定,告诉gpu往哪个画布上渲染
  context.configure({
    device: device,
    format:navigator.gpu.getPreferredCanvasFormat(),   //浏览器会告诉你画布使用哪种纹理格式,这将为用户的设备选择最有效的格式(bgra8unorm 或 rgba8unorm)
    alphaMode:'premultiplied' //半透明纹理使用的alpha格式
  })
3、定义shader
新建了个文件,shader.wgsl,这里我们用的默认的顶点着色器和片元着色器,没有对顶点的位置做任何偏移和改动,颜色也是用的顶点数据给的颜色。
struct VertexOut {
    @builtin(position) position : vec4f,
    @location(0) color: vec4f
}

@vertex
fn vertex_main(@location(0) position: vec4f,@location(1) color: vec4f) -> VertexOut
{
  var output : VertexOut;
  output.position = position;
  output.color = color;
  return output;
}

@fragment
fn fragment_main(fragData: VertexOut) -> @location(0) vec4f
{
  return fragData.color;
}
创建着色器模块,后续将模块提供给渲染管线
  const shaderModule = device.createShaderModule({
    code: shaders
  })
4、定义圆形的顶点数据,写入缓冲区
在webgpu这个坐标系就是直角坐标系,比如一个顶点坐标[x,y,z,w,r,g,b,a] ,x代表x坐标,y代表y坐标,z代表z轴坐标,w代表齐次坐标,rgba就代表颜色数据,是0~1的归一化数据范围,这里我们把圆的z坐标默认为0,w默认为1,颜色就给个绿色。
这里我们定义了圆的顶点数据,思路是将圆拆分出100个三角形,画布中心为三角形的第一个点,那么第二个点就是用角度 和三角函数去计算x,y的点,比如30度的点,x坐标就是cos(30度)*r,y坐标就是sin(30度)*r,
以此类推,三角形的多个点就计算出来了。
//计算圆上的顶点坐标
const calculateCircleVertices = (numVertices) => {
    const vertices = [];
    const r = 0.3
    for (let i = 0; i <= numVertices; i++) {
        const angle = (i / numVertices) * Math.PI * 2;
        const x = Math.cos(angle) *r;
        const y = Math.sin(angle) * r;
        vertices.push(x, y, 0.0, 1.0,0,1,0,1);

        //每两个顶点,新增一个圆点
        if(i%2===0) {
            vertices.push(0, 0, 0.0, 1.0,0,1,0,1);
        }


    }
    return new Float32Array(vertices);
};

const circleVertice = calculateCircleVertices(100); //创建一百个顶点
写入圆形的顶点数据到缓冲区里,这个时候实际并未渲染。
  //创建顶点缓冲区
  const vertexBuffer = device.createBuffer({
    size: vertices.byteLength, // 可以存储顶点数据的大小,让它足够大
    usage: GPUBufferUsage.VERTEX | GPUBufferUsage.COPY_DST,
  });

  device.queue.writeBuffer(vertexBuffer, 0, vertices, 0, vertices.length);
5、创建渲染管线
这里就是创建渲染管线的流程,相当于一个流水线,流水线会执行很多操作,比如会经过顶点着色器、图元装配、光栅化、片元着色器、深度模版测试等。
这里与常见绘制三角形的渲染管线大部分相同,只有一个点需要注意,要把绘制的类型topology设置为triangle-strip,这种渲染方式比较特殊,就是会对前一个三角形和后一个三角形中间空隙的部分进行补齐。
const pipelineDescriptor = {
      vertex: {
        module: shaderModule, //指定顶点着色器
        entryPoint: "vertex_main", //入口函数
        buffers: [
            {
              attributes: [
                {
                  shaderLocation: 0, // 位置
                  offset: 0,//偏移量
                  format: "float32x4",//数据格式类型
                },
                {
                    shaderLocation: 1, // 颜色
                    offset: 16,//偏移量
                    format: "float32x4",//数据格式类型
                  },
              ],
              arrayStride: 32,//步幅,表示每个顶点的字节数,一个顶点4个数值,每个数值=8byte ,所以是32
              stepMode: "vertex", //step思就是数据从哪儿拿, 这里使用vertex就是指定了应该按顶点获取数据
            },
          ],//顶点数据
      },
      fragment: {
        module: shaderModule, //片元着色器
        entryPoint: "fragment_main",
        targets: [
          {
            format: navigator.gpu.getPreferredCanvasFormat(), //纹理格式默认
          },
        ],
      },
      primitive: {
        topology: "triangle-strip", //绘制的原始类型,三角形
      },
      layout: "auto", //管线执行期间,所有gpu资源(缓冲期,纹理)的布局(结构,用途)
    } as GPURenderPipelineDescriptor;

    //创建渲染管线
    const renderPipeline = device.createRenderPipeline(pipelineDescriptor);
6、创建renderpass,提交渲染
RenderPass同样是现代图形API提出的新概念,简单来说RenderPass是整个Render Pipeline的一次执行。对我们绘制圆形而言,我们只需要知道每一帧都需要执行这个pipeline,就可以了。
需要注意的点就是我们之前创建的顶点缓冲区 vertexBuffer,在此时需要设置,并需要执行draw的操作,draw里面我设置了vertices.length/8,是因为每个数据含有8个数字,比如100个三角形的顶点数据长度是800,那我就设置800/8 = 100,也就是告诉gpu绘制100个三角形。
最终执行device.queue.submit,提交给gpu,gpu就会开始执行渲染,最终渲染到画布了。
  function render() {
      //创建编码器 用于发送给gpu进行编码指令
      const commandEncoder = device.createCommandEncoder();
      const renderPassDescriptor = {
        colorAttachments: [
          {
            clearValue: { r: 0.0, g: 0, b: 0, a: 1.0 },
            loadOp: "clear",
            storeOp: "store",
            view: context.getCurrentTexture().createView(),
          },
        ],
      } as GPURenderPassDescriptor

      //运行编码器
      const passEncoder = commandEncoder.beginRenderPass(renderPassDescriptor);
      passEncoder.setPipeline(renderPipeline);
      passEncoder.setVertexBuffer(0, vertexBuffer);
      passEncoder.draw(vertices.length/8);
      passEncoder.end();
      device.queue.submit([commandEncoder.finish()]);
      requestAnimationFrame(render);

    }

    render()
代码
html
<!DOCTYPE html>
<html lang="en">

<head>
    <meta charset="UTF-8">
    <meta http-equiv="X-UA-Compatible" content="IE=edge">
    <meta name="viewport" content="width=device-width, initial-scale=1.0">
    <title>
        WebGPU Circle Example
    </title>
</head>

<body>
    <canvas id="webgpu" width="500" height="500"></canvas>
    <script type="module" src="/src/sample/drawCircle/drawCircle.ts"></script>
</body>

</html>
ts文件
import shaders from './shader.wgsl?raw'// ?raw 是一个可能用于确保导入文件的纯文本内容而不是模块的 URL 查询参数。
//渐变色顶点数据
//计算圆上的顶点坐标
const calculateCircleVertices = (numVertices) => {
const vertices = [];
const r = 0.3
for (let i = 0; i <= numVertices; i++) {
const angle = (i / numVertices) * Math.PI * 2;
const x = Math.cos(angle) *r;
const y = Math.sin(angle) * r;
vertices.push(x, y, 0.0, 1.0,0,1,0,1);
//每两个顶点,新增一个圆点
if(i%2===0) {
vertices.push(0, 0, 0.0, 1.0,0,1,0,1);
}
}
return new Float32Array(vertices);
};
const circleVertice = calculateCircleVertices(100); //创建一百个顶点
console.log("顶点坐标",circleVertice)
const initWebGPU = async () => {
if(!navigator.gpu) {
throw new Error('webgpu not supported.')
}
//获取画布信息
const canvas = document.getElementById('webgpu') as HTMLCanvasElement
//获取webgpu上下文
const context = canvas.getContext('webgpu') as GPUCanvasContext
//获取gpu适配器
const adapter = await navigator.gpu.requestAdapter()
if(!adapter){
throw new Error('requestAdapter Error')
}
//获取gpu设备
const device = await adapter.requestDevice()  as GPUDevice
//画布和gpu设备绑定,告诉gpu往哪个画布上渲染
context.configure({
device: device,
format:navigator.gpu.getPreferredCanvasFormat(),   //浏览器会告诉你画布使用哪种纹理格式,这将为用户的设备选择最有效的格式(bgra8unorm 或 rgba8unorm)
alphaMode:'premultiplied' //半透明纹理使用的alpha格式
})
//把着色器代码 提供给 webgpu ,放置到渲染管线里
const shaderModule = device.createShaderModule({
code: shaders
})
//定义三角形数据 每个三角形包含 8 个数据点——X、Y、Z、W 代表位置,R、G、B、A 代表颜色。
let vertices = circleVertice
//创建顶点缓冲区,
const vertexBuffer = device.createBuffer({
size: vertices.byteLength, // 可以存储顶点数据的大小,让它足够大
usage: GPUBufferUsage.VERTEX | GPUBufferUsage.COPY_DST,
});
//写入三角形数据
//顶点缓冲区,顶点缓冲区的起始位置,三角形数据,三角形数据的起始位置,三角形数据截止位置
device.queue.writeBuffer(vertexBuffer, 0, vertices, 0, vertices.length);
//定义和创建渲染管线
//渲染管线配置
const pipelineDescriptor = {
vertex: {
module: shaderModule, //指定顶点着色器
entryPoint: "vertex_main", //入口函数
buffers: [
{
attributes: [
{
shaderLocation: 0, // 位置
offset: 0,//偏移量
format: "float32x4",//数据格式类型
},
{
shaderLocation: 1, // 颜色
offset: 16,//偏移量
format: "float32x4",//数据格式类型
},
],
arrayStride: 32,//步幅,表示每个顶点的字节数,一个顶点4个数值,每个数值=8byte ,所以是32
stepMode: "vertex", //step思就是数据从哪儿拿, 这里使用vertex就是指定了应该按顶点获取数据
},
],//顶点数据
},
fragment: {
module: shaderModule, //片元着色器
entryPoint: "fragment_main",
targets: [
{
format: navigator.gpu.getPreferredCanvasFormat(), //纹理格式默认
},
],
},
primitive: {
topology: "triangle-strip", //绘制的原始类型,三角形
},
layout: "auto", //管线执行期间,所有gpu资源(缓冲期,纹理)的布局(结构,用途)
} as GPURenderPipelineDescriptor;
//创建渲染管线
const renderPipeline = device.createRenderPipeline(pipelineDescriptor);
function render() {
//创建编码器 用于发送给gpu进行编码指令
const commandEncoder = device.createCommandEncoder();
const renderPassDescriptor = {
colorAttachments: [
{
clearValue: { r: 0.0, g: 0, b: 0, a: 1.0 },
loadOp: "clear",
storeOp: "store",
view: context.getCurrentTexture().createView(),
},
],
} as GPURenderPassDescriptor
//运行编码器
const passEncoder = commandEncoder.beginRenderPass(renderPassDescriptor);
passEncoder.setPipeline(renderPipeline);
passEncoder.setVertexBuffer(0, vertexBuffer);
passEncoder.draw(vertices.length/8);
passEncoder.end();
device.queue.submit([commandEncoder.finish()]);
requestAnimationFrame(render);
}
render()
}
initWebGPU()
shader文件
struct VertexOut {
    @builtin(position) position : vec4f,
    @location(0) color: vec4f
}

@vertex
fn vertex_main(@location(0) position: vec4f,@location(1) color: vec4f) -> VertexOut
{
  var output : VertexOut;
  output.position = position;
  output.color = color;
  return output;
}

@fragment
fn fragment_main(fragData: VertexOut) -> @location(0) vec4f
{
  return fragData.color;
}
总结
这篇文章主要是讲解 如何利用webgu画一个简单的圆形,实现的思路是利用顶点数据去绘制(当然也有更多的方法,比如简单的正方形,修改shader 去抛出一些顶点数据形成圆形)。
webgpu绘制的流程也比较固定,主要包括获取gpu、画布和gpu绑定、定义shader、定义顶点数据、创建渲染管线、执行renderpass六个阶段。
对一些想了解更多webgpu原理的小伙伴,可以从这几个阶段去入手,了解每个阶段webgpu执行了什么,有问题可以在评论区一起交流探索
原文链接:https://juejin.cn/post/7321779275698208777 作者:Azhe